
Introduction to No Bake Cheesecake
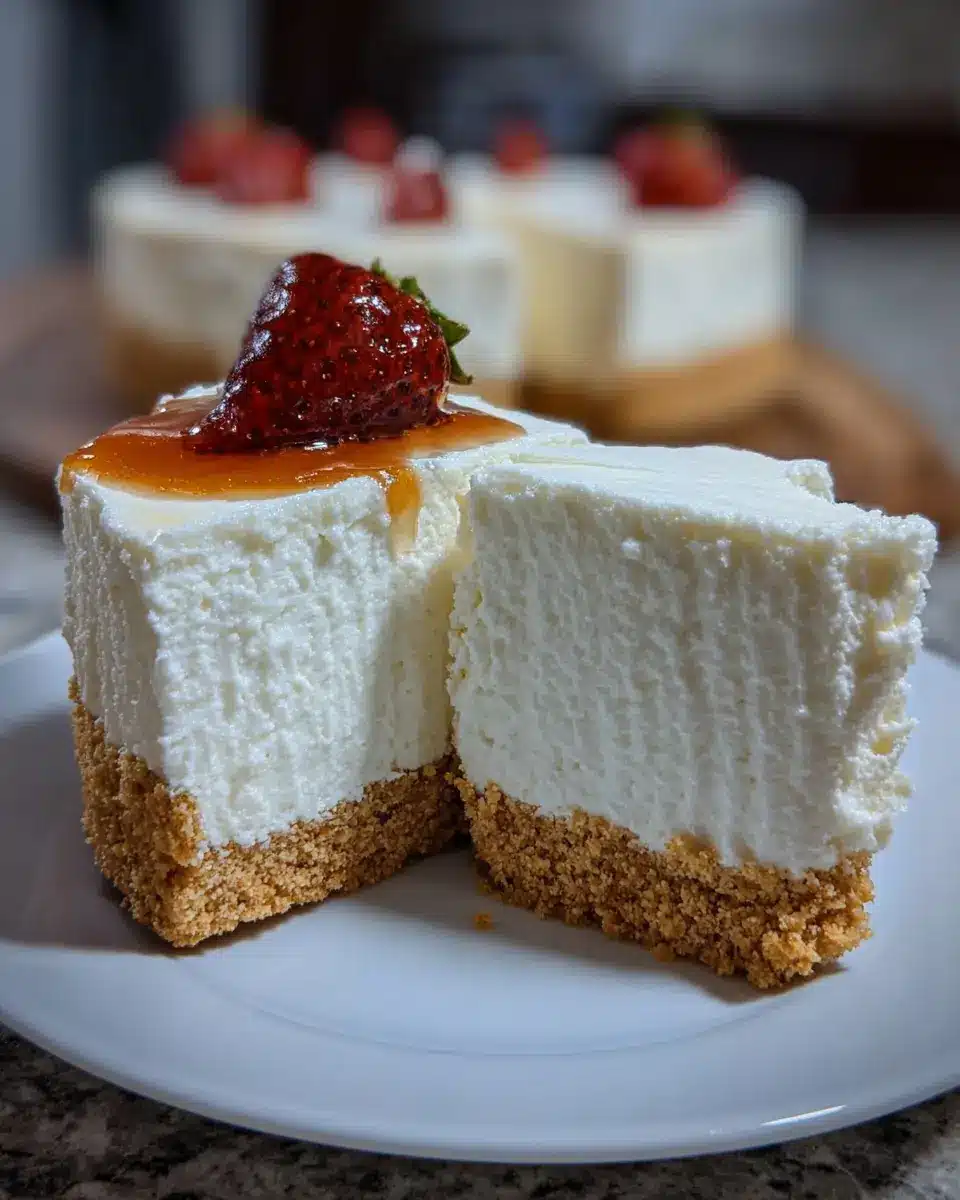
If you're craving a creamy, dreamy dessert without the fuss of baking, no bake cheesecake is your new best friend. This delightful treat is not only quick and easy to whip up, but it also requires minimal ingredients. For busy young professionals like yourself, it’s a lifesaver—perfect for those spontaneous gatherings or quiet nights in.
Why choose no bake cheesecake over traditional?
Traditional cheesecake can be a bit of an endeavor. It often requires baking, cooling, and a careful hand to avoid cracks. On the other hand, no bake cheesecake delivers all the rich, luscious flavor with none of the complications. By simply blending the ingredients and allowing them to set in the fridge, you can achieve a silky texture that rivals its baked counterpart.
Plus, this method is incredibly versatile. You can incorporate your favorite flavors, from chocolate to fruit, allowing for endless variations. If you want to dive deeper into the science of cheesecakes, check out resources like the American Chemical Society. With this no bake cheesecake recipe, you'll have a show-stopping dessert that's satisfying and stress-free.
Ingredients for No Bake Cheesecake
Essential ingredients for the crust
Creating the perfect no bake cheesecake starts with a delicious crust. For that crispy and buttery base, you’ll need:
- 1 ½ cups graham cracker crumbs: This will provide that signature crunch and subtle sweetness. You can also use digestive biscuits for a slight twist.
- ¼ cup granulated sugar: To add a touch of sweetness to your crust.
- 6 tablespoons unsalted butter, melted: This binds everything together while lending richness and flavor.
Essential ingredients for the filling
Now, onto the luscious filling that makes this cheesecake so irresistible. Make sure you have:
- 2 (8 ounce) packages cream cheese: Fully softened for a silky texture—avoid lumps at all costs!
- 1 cup powdered sugar: This sweetens the filling without any grittiness (sifting is a must).
- 1 teaspoon vanilla extract: For that classic flavor.
- ¼ cup fresh lemon juice: This adds a refreshing tang and helps balance the creaminess.
- 1 cup heavy whipping cream, cold: Whipping this creates a light texture that perfectly complements the filling.
With these essential ingredients, your no bake cheesecake will be a showstopper! Don't hesitate to check out different crusts or flavorings for some creative twists.
Preparing No Bake Cheesecake
Crafting a perfect no bake cheesecake is a delightful process that not only yields a delicious dessert but allows you to impress friends and family effortlessly. Let's break down the steps into manageable pieces to ensure your cheesecake sets flawlessly every time.
Making the crust
The foundation of any great cheesecake is its crust, and for this recipe, a graham cracker crust works wonders. To start, combine 1 ½ cups of graham cracker crumbs and ¼ cup of granulated sugar in a medium bowl. Once you’ve got those dry ingredients mixed in, add 6 tablespoons of melted unsalted butter. This is where deliciousness begins! Stir the mixture until the crumbs are thoroughly moistened, resembling damp sand. Then, press this mixture firmly into the bottom of a 9-inch springform pan. To help it set beautifully, pop the crust into the freezer while you prepare the filling.
Preparing the cream cheese filling
Next up—and possibly the most crucial part—is crafting the cream cheese filling. In a large mixing bowl, beat two packages of softened cream cheese until it's fabulously smooth and lump-free; about two minutes should do it. Be sure to scrape down the bowl's sides to catch any stubborn lumps that might cling on. Now it’s time for sweetness! Gradually mix in 1 cup of sifted powdered sugar, followed by 1 teaspoon of vanilla extract and ¼ cup of fresh lemon juice. This combination not only flavors the cheesecake but gives it that zesty kick that perfectly balances the richness.
Whipping the heavy cream
While the filling is delightful on its own, incorporating air will elevate it. Grab another clean, chilled bowl and whip 1 cup of heavy whipping cream until stiff peaks form. This step is critical: achieving those peaks will give your cheesecake a light, airy texture that contrasts beautifully with its creamy base.
Combining the mixtures
Time to merge heaven and earth! Gently fold the whipped cream into your cream cheese mixture in two parts, using a spatula. The key is to be gentle—you're aiming to keep all that lovely air you've just whipped into the cream. If you overmix, you risk deflating your filling, which won't give you that beautiful silky finish we’re going for.
Assembling and chilling
Now that your mixtures are combined, pour the cheesecake filling over the chilled crust and smooth it out on top with an offset spatula. Cover the pan loosely with plastic wrap and refrigerate for a minimum of six hours, or ideally overnight. Giving your cheesecake this time to set is essential for achieving that perfect slice! Trust us—it’s worth the wait.
Feeling like a pro yet? You’ll find that with practice, you’ll be whipping up this no bake cheesecake with ease and confidence, impressing everyone who takes a slice. Now, go ahead and enjoy the sweet reward of your hard work!
Variations on No Bake Cheesecake
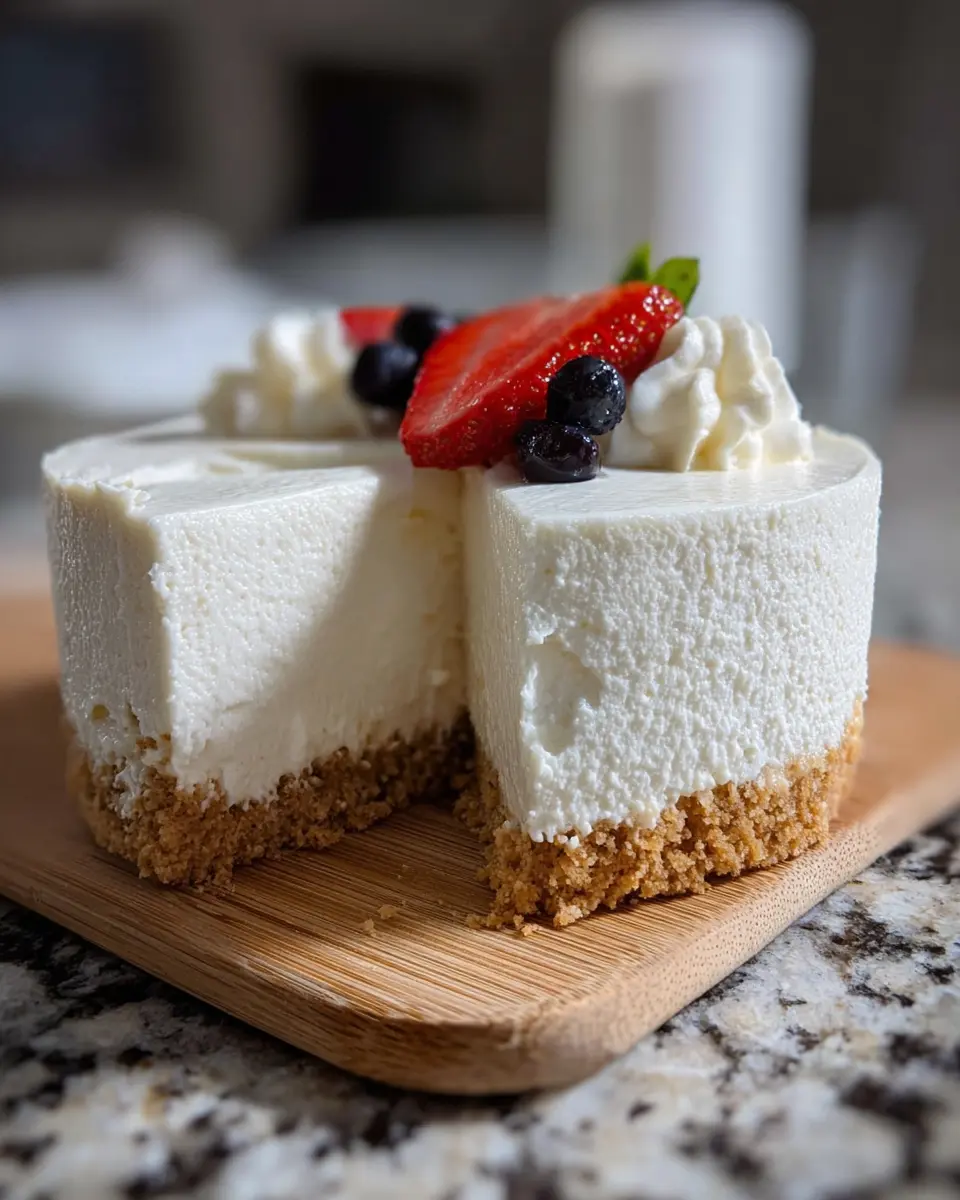
Fruit-Topped No Bake Cheesecake
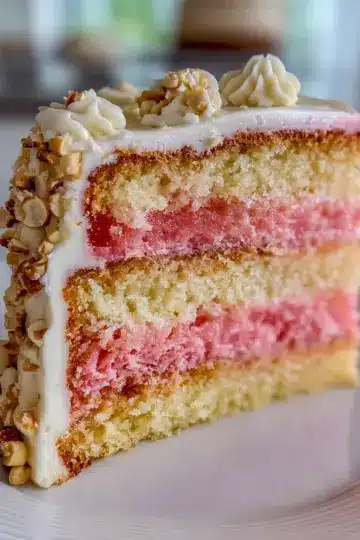
Elevate your no bake cheesecake by adding a vibrant fruit topping. Fresh berries, sliced peaches, or a tart cherry sauce can add both flavor and color. Simply prepare your cheesecake, then let it chill. Once set, top it generously with your favorite fruits. You can even create a berry compote by simmering them with a bit of sugar and lemon juice (check out this fruit compote recipe).
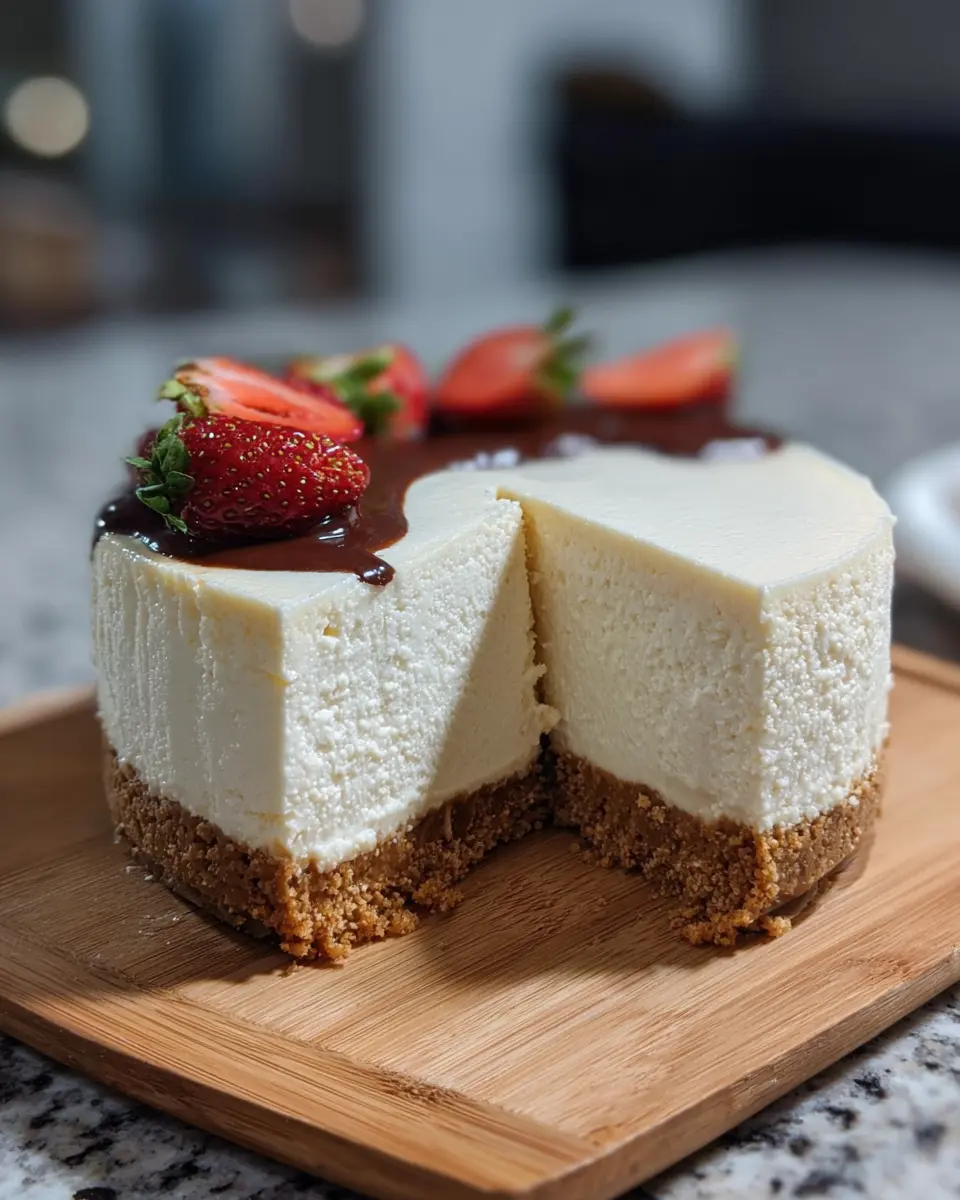
Chocolate No Bake Cheesecake
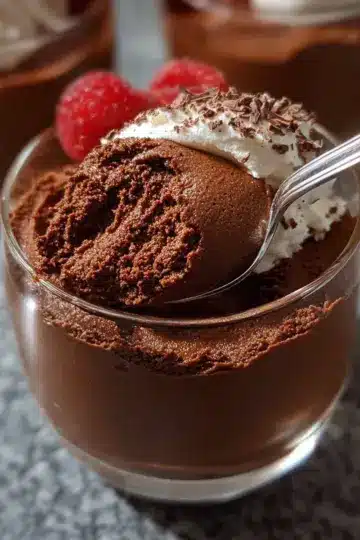
For the chocolate lovers out there, try a decadent chocolate no bake cheesecake! Incorporate melted chocolate or cocoa powder into the filling to create a rich, heavenly dessert. Garnish with chocolate shavings or a drizzle of chocolate sauce for effect. This twist can easily wow guests at your next gathering.
No Bake Cheesecake Bites
Short on time? Whip up no bake cheesecake bites for a fun, portable version. Use a mini muffin tin to portion out the cheesecake mixture, refrigerate, then pop them out for bite-sized delights. They're perfect for parties or a sweet craving at home! Get creative with different flavors and toppings; the options are endless!
Cooking Tips and Notes for No Bake Cheesecake
Tips for Achieving the Perfect Texture
To create a silky no bake cheesecake that's irresistibly smooth, remember to use full-fat cream cheese, making sure it's completely softened for that lump-free consistency. Sifting the powdered sugar is key to avoiding a grainy filling. Whipping the heavy cream in a chilled bowl not only speeds up the process but also helps achieve those stiff peaks for a lighter texture.
Common Mistakes to Avoid
Avoid mixing the filling too vigorously, as this can deflate the whipped cream and compromise the smoothness. Also, don’t skip chilling your cheesecake! Let it set for the full time recommended—at least 6 hours, or overnight is ideal—to ensure it holds its shape beautifully when sliced. Want more tips? Check out this resource for additional insights on dessert preparation.
Serving Suggestions for No Bake Cheesecake
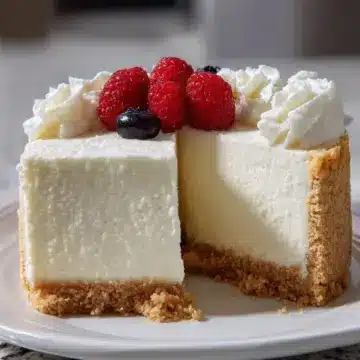
Creative Toppings
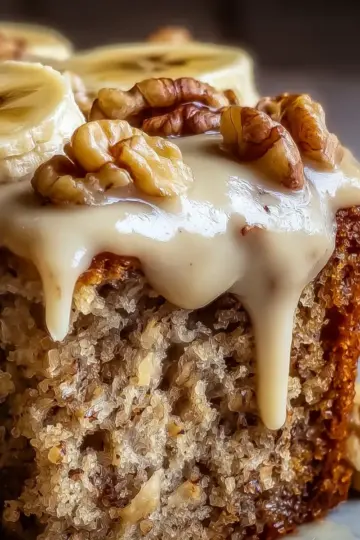
Elevate your no bake cheesecake with delightful toppings! Fresh fruits like raspberries, strawberries, or mango slices add a burst of color and flavor. For a gourmet touch, consider drizzling chocolate sauce or a homemade berry compote. Crushed cookies or nuts can also provide a satisfying crunch.
Pairings with Beverages
Pair your cheesecake with refreshing beverages. A chilled iced coffee or a creamy milkshake complements the richness perfectly. For a lighter option, offer sparkling water infusions with citrus or berries. These vibrant drinks will enhance your dessert experience, making gatherings even more enjoyable.
Explore more beverage ideas on Bon Appétit.
Time Breakdown for No Bake Cheesecake
Preparation Time
Get started on your no bake cheesecake by allowing about 20 minutes for preparation. This includes prepping the crust and mixing the luscious filling.
Chilling Time
Patience is key here; your cheesecake needs a good 6 hours of chilling time in the refrigerator. For the best results, let it set overnight.
Total Time
In total, you’re looking at 6 hours and 20 minutes from start to serving. Trust us, the wait is well worth it for that velvety slice of heaven!
For tips on perfecting your chilling process, check out this guide on refrigeration.
Nutritional Facts for No Bake Cheesecake
When you indulge in a slice of no bake cheesecake, understanding its nutritional profile can help you enjoy it guilt-free. Each serving contains approximately:
- Calories: 350
- Sugar Content: 28g
- Protein: 5g
This delightful dessert balances creaminess with a touch of sweetness, all while offering a small boost of protein. Enjoy it as an occasional treat that captures the essence of indulgence without compromising on flavor!
FAQs about No Bake Cheesecake
How can I make my no bake cheesecake firmer?
If you're looking for a firmer no bake cheesecake, consider using ingredients like mascarpone cheese or adding a bit of gelatin. To do this, dissolve about 1 teaspoon of gelatin in a tablespoon of cold water, let it sit until it blooms, then gently warm it to liquid form before incorporating it into your filling. Additionally, chilling the cheesecake longer can enhance its texture, ensuring it sets perfectly.
Can I use low-fat ingredients?
Yes, you can use low-fat cream cheese or Greek yogurt for a lighter version of this delightful treat. Keep in mind that while they can reduce the calorie count, they may also affect the creaminess and overall texture of your no bake cheesecake. So, experiment a bit to find the balance that works for you!
What’s the best way to store no bake cheesecake?
To preserve the freshness of your no bake cheesecake, store it in the refrigerator, covered with plastic wrap or aluminum foil. It can last up to a week when stored properly. If you need to keep it longer, consider freezing it—just be sure to wrap it tightly to avoid freezer burn!
Conclusion on No Bake Cheesecake
In conclusion, this no bake cheesecake is a game changer for anyone looking to impress without the oven. Its silky texture and rich flavor make it a crowd-pleaser, perfect for any occasion. Remember to chill it well for the best results, and enjoy every creamy bite!
The Ultimate Silky No Bake Cheesecake That Sets Flawlessly Every Time
Equipment
- 9-inch springform pan
- Electric Mixer
- mixing bowl
- spatula
Ingredients
Crust
- 1.5 cups graham cracker crumbs
- 0.25 cups granulated sugar for crust
- 6 tablespoons unsalted butter melted
Filling
- 2 packages cream cheese softened to room temperature
- 1 cups powdered sugar sifted
- 1 teaspoon vanilla extract
- 0.25 cups fresh lemon juice
- 1 cups heavy whipping cream cold
Instructions
Preparation
- Prepare the crust: Combine graham cracker crumbs and ¼ cup granulated sugar in a bowl. Pour in melted butter and mix until the crumbs are evenly moistened. Press the mixture firmly and evenly into the bottom of a 9-inch springform pan. Place the crust in the freezer while you prepare the filling.
- Beat the cream cheese: In a large bowl, use an electric mixer to beat the softened cream cheese until it is completely smooth and lump-free, about 2 minutes. Scrape down the sides of the bowl.
- Add sweeteners and flavor: Gradually beat in the sifted powdered sugar until combined. Mix in the vanilla extract and lemon juice until the mixture is smooth.
- Whip the cream: In a separate, clean, chilled bowl, whip the cold heavy whipping cream until stiff peaks form. This step incorporates air for a lighter texture.
- Fold together: Gently fold the whipped cream into the cream cheese mixture in two additions, using a spatula. Fold just until no white streaks remain; do not overmix, or the filling will deflate.
- Assemble and chill: Pour the filling over the chilled crust and smooth the top with an offset spatula. Cover the pan loosely with plastic wrap. Refrigerate for a minimum of 6 hours, or preferably overnight, to allow the cheesecake to set perfectly.
- Serve: Release the springform side before slicing. Serve cold.

Leave a Reply