
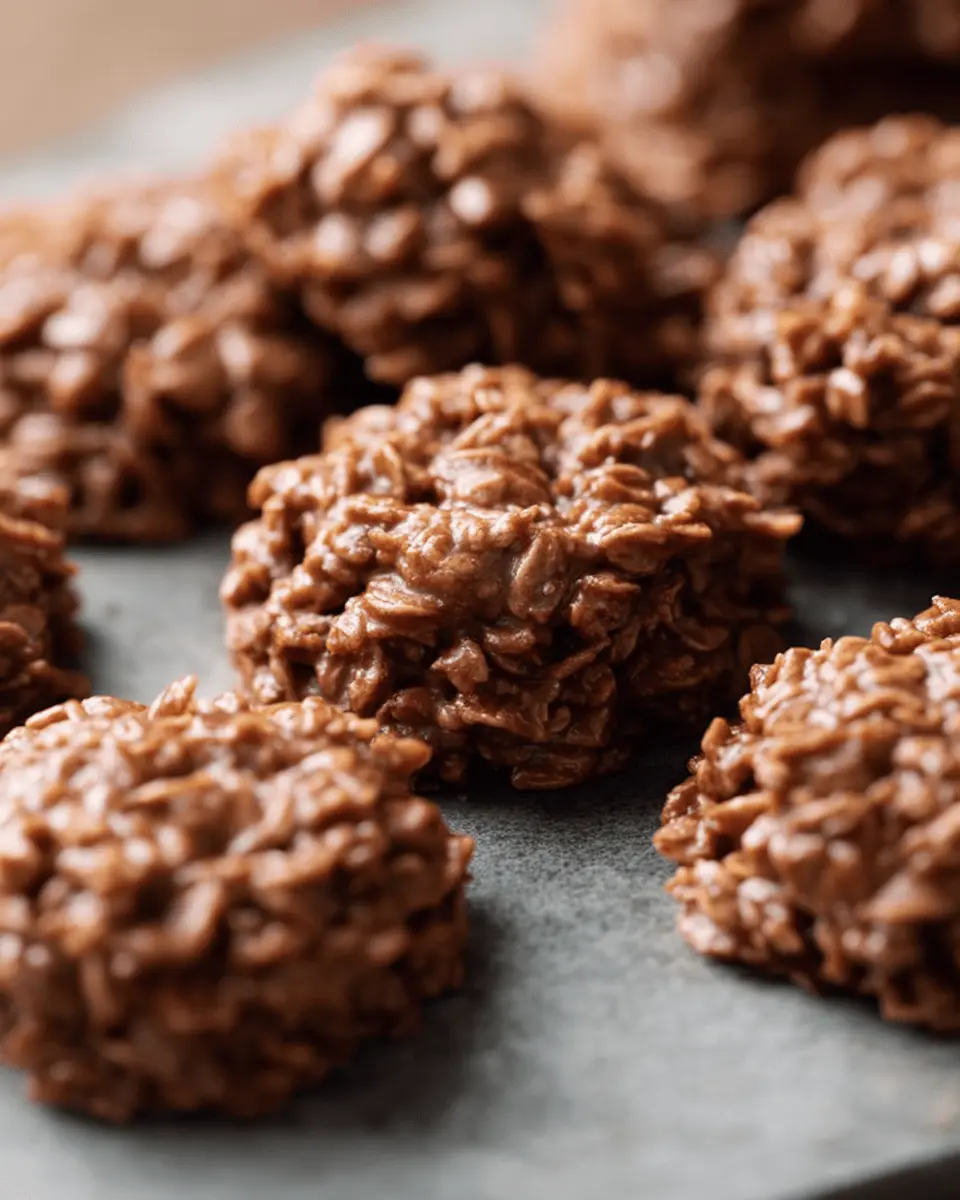
Introduction to Classic No-Bake Cookies
These classic no-bake cookies are not just a treat; they’re a lifesaver for busy young professionals. With a hectic schedule balancing work, social life, and personal commitments, finding time to whip up homemade desserts can feel impossible. That's where these simple cookies come in. In just under 45 minutes, you can create a delicious batch that satisfies your sweet tooth without the need for an oven.
Why No-Bake Cookies Are a Game Changer for Young Professionals
Imagine this: it’s a Friday evening, and you have friends coming over. The last thing you want is to spend your limited time baking in a hot kitchen. No-bake cookies take away the hassle of measuring precise baking times and temperatures. Instead, you can savor more of your evening, knowing that the dessert is already preparing itself in the fridge.
These cookies are also incredibly versatile. Whether you're gearing up for a potluck or simply indulging in a midnight snack, they can be customized with different add-ins like nuts, dried fruit, or even a sprinkle of sea salt for that extra flair. Check out this article on the benefits of no-bake recipes for more insights!
So, let’s dive into this easy recipe for classic no-bake cookies that will impress everyone around you while saving you time and effort.
Ingredients for Classic No-Bake Cookies
When it comes to whipping up a batch of classic no-bake cookies, you'll find that simplicity is key. Here’s what you absolutely need to make these delightful treats!
Essential ingredients you'll need
- Butter: ½ cup (115 grams), sliced for easy melting
- Granulated sugar: 2 cups (400 grams) for that sweet crunch
- Milk: ½ cup (120 ml), whole or your choice for creaminess
- Cocoa powder: ¼ cup (20 grams), unsweetened for rich chocolate flavor
- Peanut butter: ½ cup (125 grams), creamy for that irresistible texture
- Vanilla extract: 1 teaspoon for warmth and depth
- Quick-cooking oats: 3 cups (300 grams), binding everything together
These are the essentials that create the base of your no-bake cookies, making them super satisfying and easy to prepare.
Optional ingredients for customization
Feel free to get creative! Here are some ideas to jazz up your cookies:
- Chocolate Chips: Add a handful for extra chocolatey goodness.
- Nuts: Chopped walnuts or almonds can add crunch.
- Shredded Coconut: For a tropical twist.
- Dried Fruit: Raisins or cranberries can introduce a fruity note.
Explore flavor combinations that resonate with you, and don’t hesitate to experiment! The sky's the limit when making these classic no-bake cookies. For more no-bake recipes, check out food blogs like Serious Eats or Bon Appétit for inspiration!
Step-by-Step Preparation of Classic No-Bake Cookies
Making classic no-bake cookies is a delightful adventure in the kitchen—perfect for anyone looking to whip up a sweet treat without turning on the oven! Follow these easy steps to craft your own batch of deliciousness.
Gather and measure your ingredients
Before diving into the cooking process, it's essential to gather and measure all your ingredients. This not only saves time but also ensures that everything is ready to go! Here’s what you’ll need:
- ½ cup (115 grams) sliced butter
- 2 cups (400 grams) granulated sugar
- ½ cup (120 ml) milk (whole or any milk you prefer)
- ¼ cup (20 grams) unsweetened cocoa powder
- ½ cup (125 grams) creamy peanut butter
- 1 teaspoon pure vanilla extract
- 3 cups (300 grams) quick-cooking oats
Don’t forget to line two large baking sheets with parchment paper; this will help prevent your cookies from sticking as they cool.
Create the chocolatey base mixture
In a large saucepan over medium heat, combine the butter, sugar, milk, and unsweetened cocoa powder. Stir regularly to ensure everything is melted and well mixed. It’s crucial to bring the mixture to a rolling boil and time it for 60 seconds. This step activates the cocoa and sugar, creating that perfect chewy texture in your classic no-bake cookies.
Stir in the peanut butter and oats
Once your mixture has boiled, remove it from the heat and stir in the creamy peanut butter and vanilla. The warmth of the mixture will help the peanut butter melt into a smooth, glossy blend. Next, add in the oats, mixing thoroughly until every oat is coated in that chocolatey goodness. The oats provide both texture and heartiness to your cookies, making them outrageously satisfying!
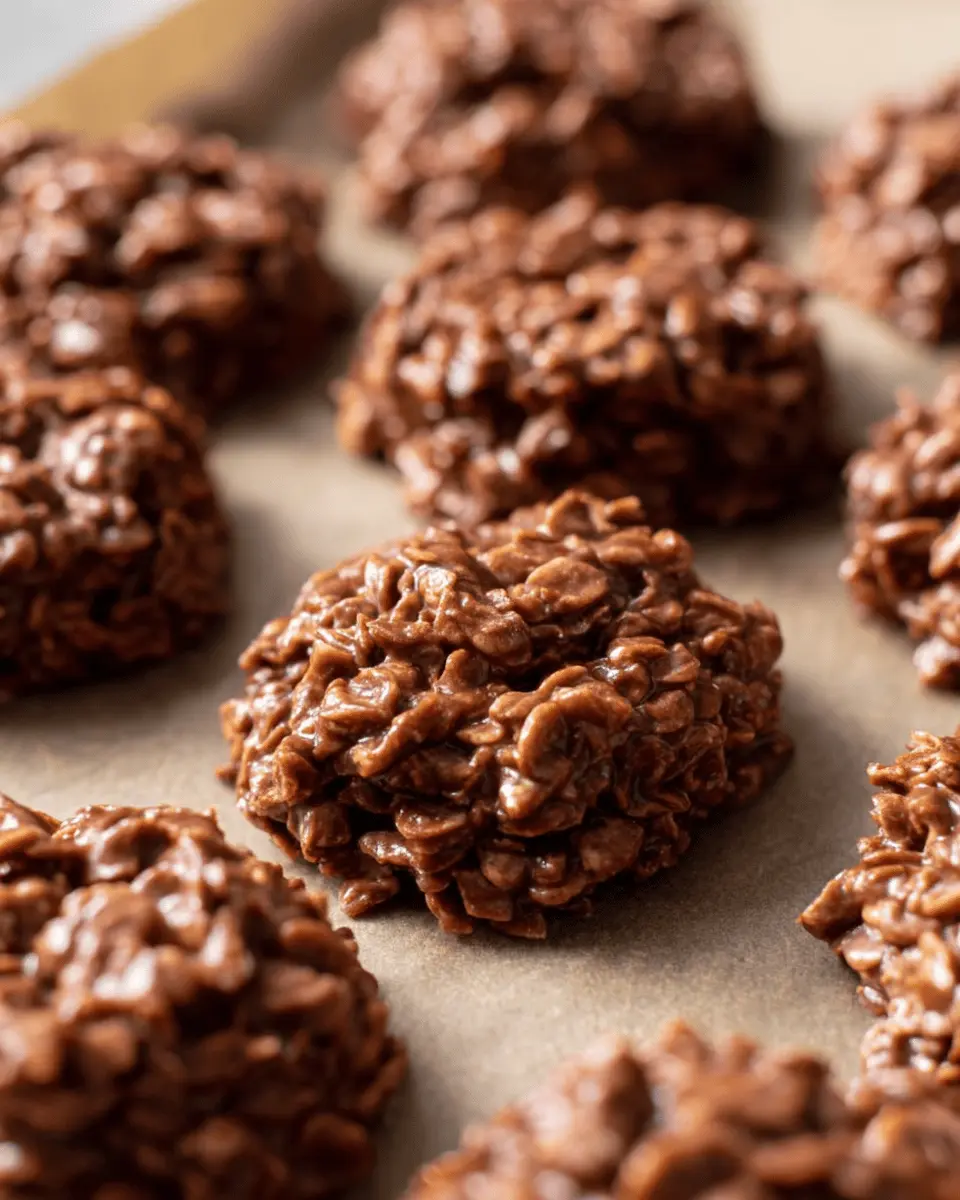
Scoop and shape the cookies on baking sheets
Using a cookie scoop or a tablespoon, drop spoonfuls of the mixture onto your prepared baking sheets. Aim for uniform sizes to ensure evenly set cookies. If you want some variety, you could even use muffin tins for fun shapes! Just remember, these are meant to be delightful bites, so don’t overdo it on the size.
Let the cookies cool and set
Now comes the hardest part—waiting! Allow your cookies to cool for about 20 to 30 minutes. This time lets them firm up and hold together nicely. Once they are set, dig in and enjoy your homemade classic no-bake cookies! They store well too, so feel free to share with friends or stash some away for sweet cravings.
For a twist, check out The Kitchn for additional tips and variations on these cookies. Happy baking!
Variations on Classic No-Bake Cookies
Peanut butter and chocolate chip no-bake cookies
If you're a peanut butter lover, why not elevate your classic no-bake cookies with an extra layer of chocolate? Simply fold in a handful of chocolate chips to the traditional mix right before dropping spoonfuls onto the baking sheet. As they cool, the chocolate will melt slightly, making each bite a bit gooier and full of rich flavor. You can also try adding crushed nuts for some crunch!
Vegan-friendly no-bake cookies
Plant-based eaters can enjoy these delightful treats too! Substitute the butter with coconut oil and the milk with almond milk. To ensure sweetness without dairy, use maple syrup or agave nectar instead of granulated sugar. These vegan no-bake cookies are just as satisfying and delicious—a perfect way to satisfy that sweet tooth without compromising your dietary choices.
Gluten-free no-bake cookie options
For a gluten-free version of the classic no-bake cookies, simply swap regular oats for certified gluten-free oats. You can also use almond flour or coconut flour to replace the oats for a different texture and flavor profile. This adaptability means everyone can indulge without worrying about gluten sensitivities. Embrace the creativity, and you’ll discover mouthwatering options tailored just for you!
For more variations and tips on making delicious treats, check out The Kitchn or AllRecipes for fantastic inspiration.
Cooking Tips and Notes for Classic No-Bake Cookies
Tips for Getting the Perfect Texture
To achieve the ideal texture in your classic no-bake cookies, make sure you bring your mixture to a rolling boil for exactly 60 seconds. This helps in creating that perfect chewy yet slightly fudgy texture. Also, stick with quick-cooking oats for the best results; they absorb moisture better and yield a softer bite.
Common Mistakes to Avoid
A common misstep is not fully incorporating the peanut butter and oats, leading to uneven flavor. It's crucial to stir until everything is well mixed. Additionally, when dropping spoonfuls onto baking sheets, don’t worry about achieving perfect shapes; they should look rustic! Remember, cooling time is just as important—let them sit undisturbed so they can firm up properly.
For more cookie tips, you can check out the Joy of Baking for insights on texture perfection!
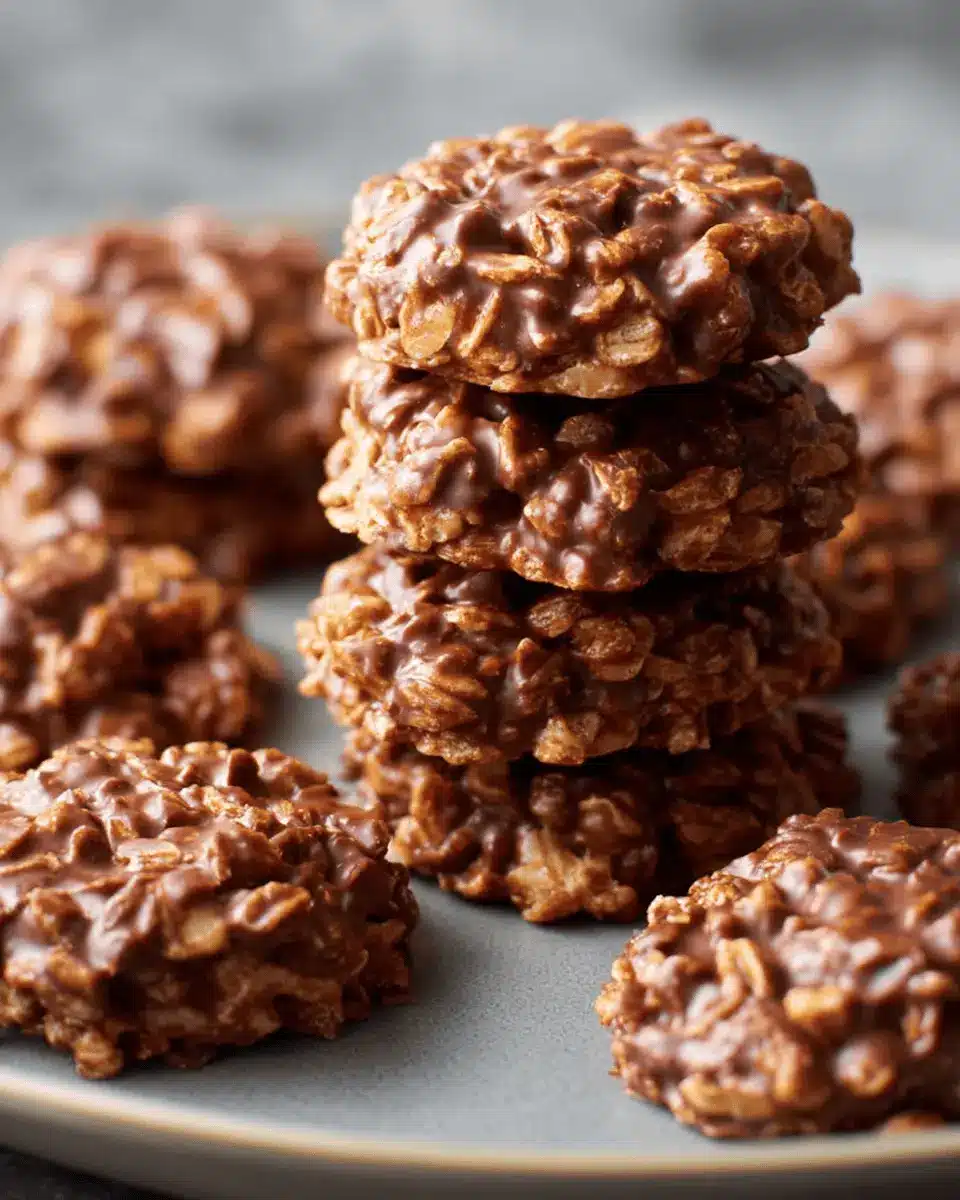
Serving Suggestions for Classic No-Bake Cookies
When it comes to enjoying your classic no-bake cookies, nothing beats the classic combo of cookies and milk. Opt for whole milk for a rich experience, or try non-dairy alternatives like almond or oat milk for something a bit different. Both options balance the sweetness beautifully!
If you’re hosting a gathering, think outside the cookie jar! Serve these delightful treats on a cheerful platter alongside fresh fruit and a variety of dips like chocolate or peanut butter. This creates a fun, interactive dessert experience that guests will love. You might also consider drizzling them with melted dark chocolate for a gourmet touch!
For more creative dessert ideas, check out Taste of Home.
Time Breakdown for Classic No-Bake Cookies
When time is of the essence, these classic no-bake cookies come to the rescue! Here’s a quick breakdown to help you plan.
Preparation Time
- 20 minutes: This includes gathering your ingredients, mixing, and dropping spoonfuls onto baking sheets. It’s quick and oh-so-easy!
Cooling Time
- 20 minutes: Allow your cookies to cool on the baking sheets. This is the perfect time to get a cup of tea or start on your next fun recipe!
Total Time
- 45 minutes: In just under an hour, you’ll have delicious classic no-bake cookies ready to enjoy. How does that sound for a sweet treat?
These cookies are not only simple but require minimal time, making them a great choice for impromptu gatherings or a late-night snack. Plus, they pair beautifully with a glass of cold milk! For more details on these delectable treats, check out this resource for tips on variations.
Nutritional Facts for Classic No-Bake Cookies
When it comes to enjoying your favorite treats, it’s good to know what you're indulging in. Here’s a quick glimpse at the nutritional facts for these delightful classic no-bake cookies.
Calories per cookie
Each cookie contains approximately 100 calories, making them a sweet yet manageable indulgence.
Saturated fat content
With about 4 grams of saturated fat per cookie, these treats are rich but certainly worth savoring on special occasions.
Sugar content
One cookie packs around 8 grams of sugar. While it adds sweetness, enjoy these cookies in moderation for a balanced diet.
For more detailed dietary information, check out credible sources like the United States Department of Agriculture or Mayo Clinic.
FAQs about Classic No-Bake Cookies
Can I make these cookies without peanut butter?
Absolutely! If you're not a fan of peanut butter or have allergies, consider using alternatives like almond butter, sunflower seed butter, or even a nut-free spread. Each option brings its own flavor and texture. Just ensure it has a similar creamy consistency for the best results.
How long can I store no-bake cookies?
Properly stored, your classic no-bake cookies can delight your taste buds for up to a week at room temperature in an airtight container. For longer storage, you can freeze them for up to three months. Just make sure they’re completely cool before placing them in a freezer-friendly bag.
Why did my no-bake cookies not set properly?
There are a few reasons why your classic no-bake cookies might not set as expected. The most common culprit is not allowing the mixture to boil long enough—aim for a full 60 seconds. Additionally, if your mixture is too wet or if more oats are needed, the cookies may remain gooey. For a more detailed guide on troubleshooting, consider checking out resources like The Kitchn.
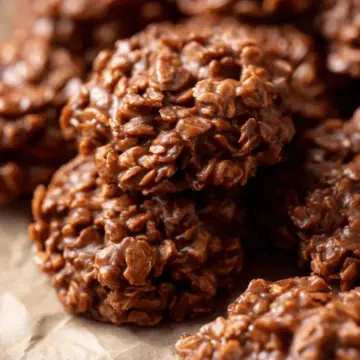
Conclusion on Classic No-Bake Cookies
Making classic no-bake cookies at home is a delightful experience that requires minimal effort and delivers maximum flavor. With just a handful of ingredients, you’ll have a delicious treat in no time. So gather your supplies and enjoy these delectable cookies with friends and family! Happy baking!
Classic No-Bake Cookies: The Easy Indulgence You’ll Love
Equipment
- large saucepan
- baking sheets
- parchment paper
- cookie scoop
Ingredients
- ½ cup butter sliced into pieces
- 2 cups granulated sugar
- ½ cup milk preferably whole milk
- ¼ cup unsweetened cocoa powder
- ½ cup creamy peanut butter
- 1 teaspoon pure vanilla extract
- 3 cups quick-cooking oats old-fashioned rolled oats can be used but will be chewier
Instructions
- Before getting started, make sure to gather all of your ingredients and measure everything out. Line two large baking sheets with parchment paper and set aside.
- Combine the butter, sugar, milk, and unsweetened cocoa powder in a large saucepan and heat over medium heat, making sure to stir often until the butter is melted and everything is well combined. Bring the mixture to a rolling boil and allow to boil for 60 seconds, stirring occasionally.
- Remove from the heat, and stir in the peanut butter and vanilla extract until fully combined. Stir in the oats and mix until all of the oats are coated with the mixture and everything is well combined.
- Drop spoonfuls of the mixture onto the prepared baking sheets. Allow to cool for 20 to 30 minutes, serve, and enjoy!
Leave a Reply