
Introduction to Homemade Cake Pops
Why Homemade Cake Pops Are a Fun Treat
Making homemade cake pops is not just about indulging in a delightful dessert; it’s a creative activity that brings joy to everyone involved. Imagine spending a weekend afternoon with friends or family, whipping up a batch of these bite-sized wonders. The process of baking the cake, mixing in frosting, and crafting each pop can be as enjoyable as the sweet rewards themselves.
Cake pops offer a wonderful opportunity to customize flavors and decorations, making them perfect for all occasions—from birthday parties to holiday gatherings. You can get adventurous by experimenting with ingredients or trying out colorful sprinkles that match any theme. Plus, they’re a fantastic way to use up leftover cake—no waste here!
Another perk? They’re portable! Easy to share and delightfully neat, cake pops are a crowd-pleaser that look as good as they taste. Whether you’re creating them for a celebration or simply for yourself, serving up homemade cake pops will impress friends and family alike.
So, are you ready to dive into the fun world of cake pops? Let’s get those creative juices flowing and start baking! For more tips on how to make the most of your baking experience, check out Sally's Baking Addiction for expert advice and tutorials.
Ingredients for Homemade Cake Pops
Creating homemade cake pops is a delightful journey that combines baking and crafting. Here’s what you need to whip up these tasty treats!
Base Ingredients
To kick off your cake pops, gather the following base ingredients for a fluffy cake:
- All-purpose flour: 1 and ⅔ cups (209g)
- Baking powder: ½ teaspoon
- Baking soda: ¼ teaspoon
- Salt: ½ teaspoon
- Unsalted butter: ½ cup (8 Tbsp; 113g), softened
- Granulated sugar: 1 cup (200g)
- Egg: 1 large, at room temperature
- Pure vanilla extract: 2 teaspoons
- Whole milk or buttermilk: 1 cup (240ml)
Frosting Ingredients
For that creamy texture that holds everything together, you’ll need:
- Unsalted butter: 7 tablespoons (99g), softened
- Confectioners’ sugar: 1 and ¾ cups (210g)
- Heavy cream or whole milk: 2–3 teaspoons
- Pure vanilla extract: 1 teaspoon
Coating Ingredients
Lastly, to make your cake pops irresistible, choose your coating:
- Candy melts or white chocolate: 24 ounces (678g)
- Sprinkles: Your choice for a festive finish
By assembling these ingredients, you're well on your way to creating delicious homemade cake pops! Don’t forget to check out our links for tips on how to measure baking ingredients accurately and enhance your frosting skills!
Preparing Homemade Cake Pops
Creating delightful homemade cake pops is as fun as it is rewarding! With just a few steps, you’ll be indulging in these tasty treats that are perfect for any occasion. Here’s a guide to help you through the process.
Step 1: Prepare the Cake Batter
First things first—let's whip up that cake batter! In a medium bowl, combine your dry ingredients: 1 and ⅔ cups of all-purpose flour, ½ teaspoon of baking powder, ¼ teaspoon of baking soda, and ½ teaspoon of salt. Set that aside for now. Using a handheld or stand mixer, cream together ½ cup of softened unsalted butter and 1 cup of granulated sugar until the mixture becomes light and fluffy. This step is crucial for aeration, resulting in a moist cake!
Step 2: Bake the Cake
To bake the cake, preheat your oven to 350°F (177°C) and grease a 9-inch springform pan. Gradually add the dry mixture and 1 cup of milk (or buttermilk) into the butter-sugar mixture, mixing gently until combined. Pour the batter into your prepared pan and bake for 30-36 minutes. Keep an eye on it—your cake is done when a toothpick comes out clean!
Step 3: Make the Frosting
While the cake cools, let’s prepare the frosting. In a separate bowl, beat 7 tablespoons of softened unsalted butter until creamy, then incorporate 1 and ¾ cups of confectioners' sugar, 2-3 teaspoons of heavy cream, and 1 teaspoon of vanilla extract. This luscious frosting will serve as the binder for your cake pops!
Step 4: Combine Cake and Frosting
Once the cake has cooled completely, crumble it into a large bowl and mix in the frosting. You want everything to blend seamlessly, so don’t hold back on mixing—get in there with a spatula to ensure no large lumps remain!
Step 5: Form the Cake Pops
Now the fun truly begins! Scoop out 1 tablespoon of the cake/frosting mixture and roll it into a ball. Repeat this until you've used up all your mixture. Place the balls on a lined baking sheet and pop them in the fridge for about 2 hours. This sets the shape and makes them easier to coat.
Step 6: Chill the Cake Balls
While chilling, take a moment to reflect on how fabulous these homemade cake pops will be! Refrigerating them ensures they’ll hold their shape when dipped.
Step 7: Melt Coating
It’s time to melt your coating! You can use candy melts or white chocolate. Melt in a microwave-safe bowl in 20-second increments, stirring in between until smooth.
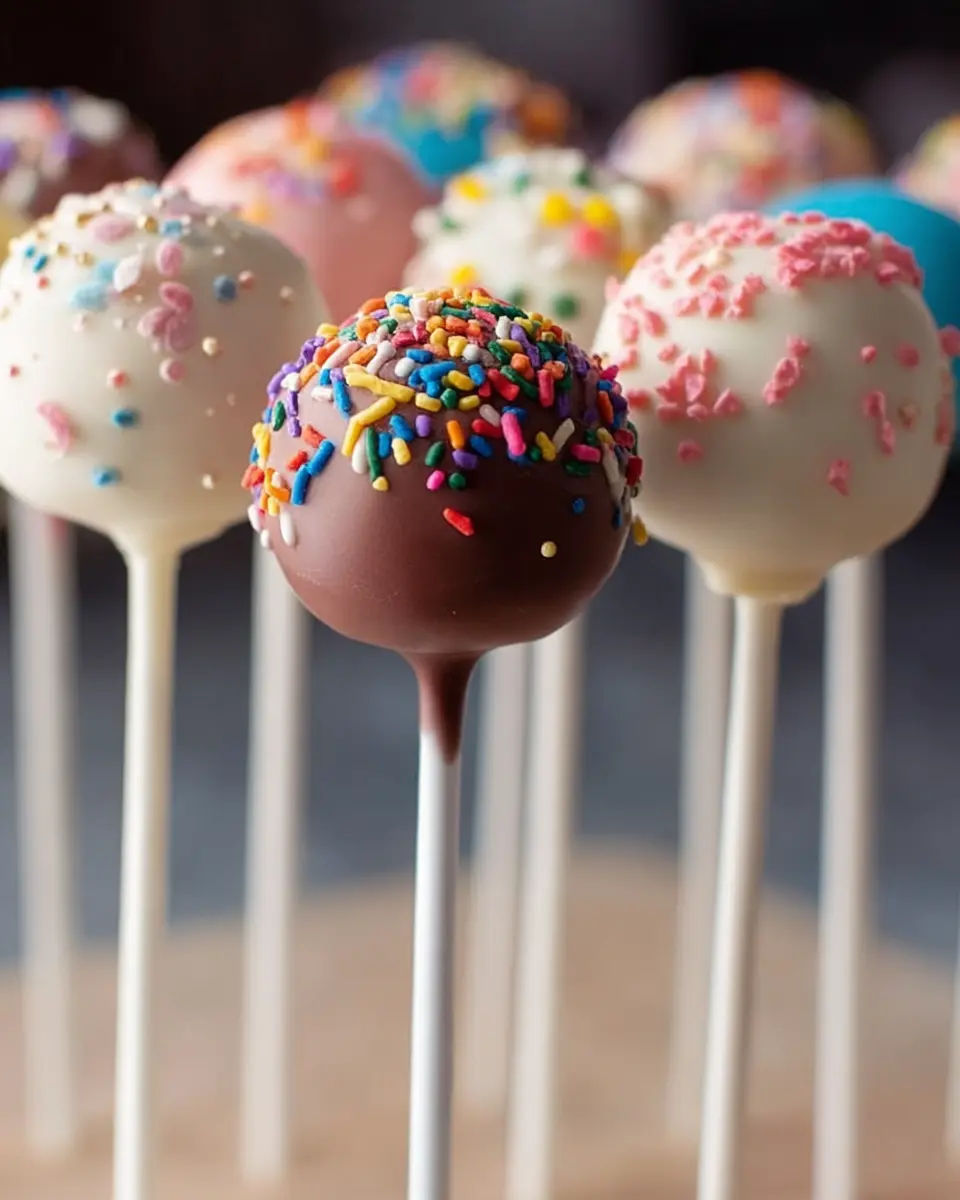
Step 8: Coat the Cake Pops
When the coating is ready, remove a few cake balls from the fridge, dip a lollipop stick into the melted coating, then insert it halfway into your cake ball. Dip the entire cake ball into the coating and ensure you tap off the excess. Decorate with sprinkles while the coating is still wet, and stand them upright to set!
By following these steps, your homemade cake pops will be not just made with love, but also sure to impress! If you're looking to master the art of cake pops, check out Sally's Baking Addiction for more amazing tips. Enjoy your baking adventure!
Variations on Homemade Cake Pops
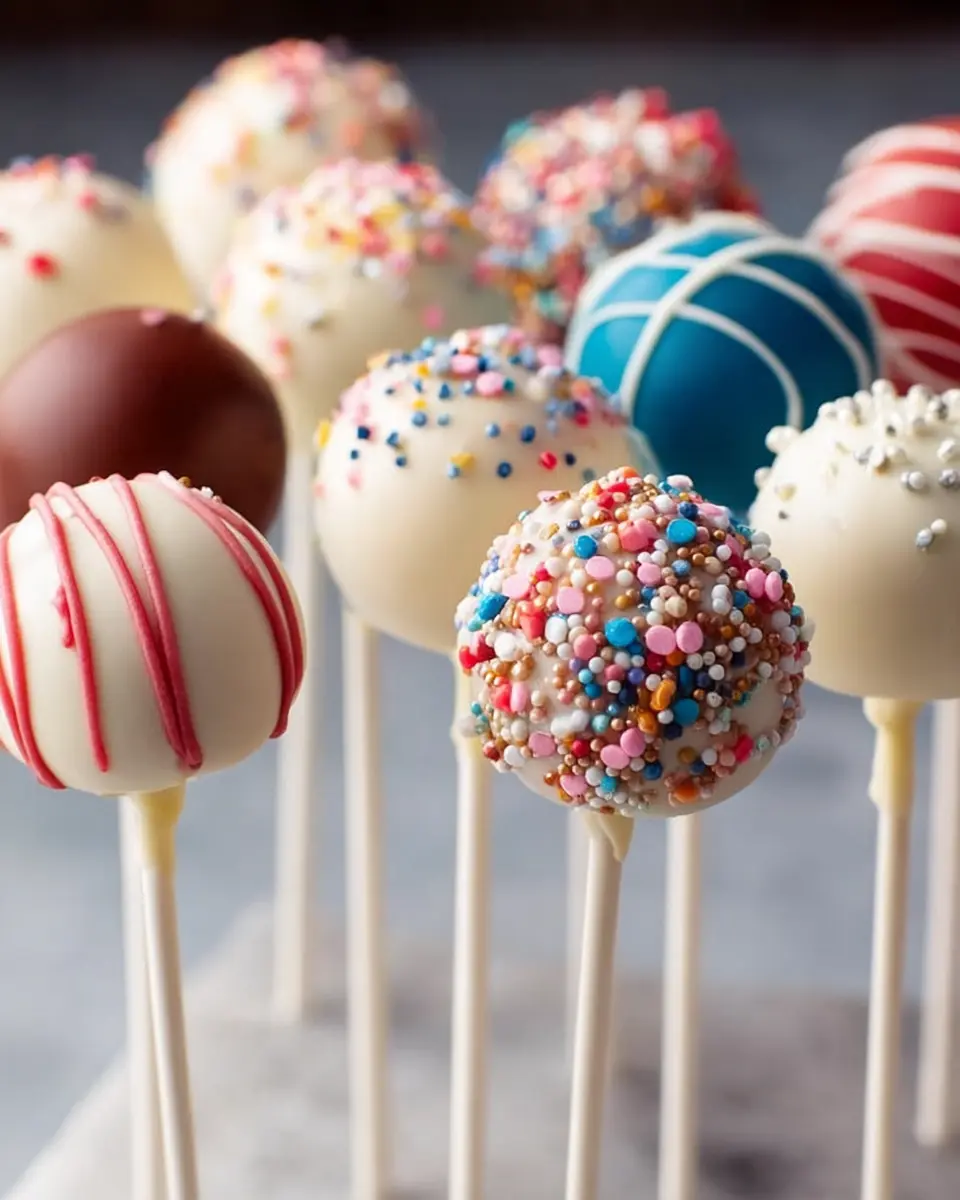
Different Flavor Cake Pops
The beauty of homemade cake pops lies in their versatility! Experiment with various cake and frosting flavors to find your perfect match. Consider chocolate cake paired with mint frosting for a refreshing twist, or red velvet cake complemented by cream cheese frosting for a classic favorite. You could even try fun combinations like lemon cake with raspberry frosting or carrot cake with cream cheese frosting. The sky’s the limit—why not blend some different flavors for an enticing cake pop surprise?
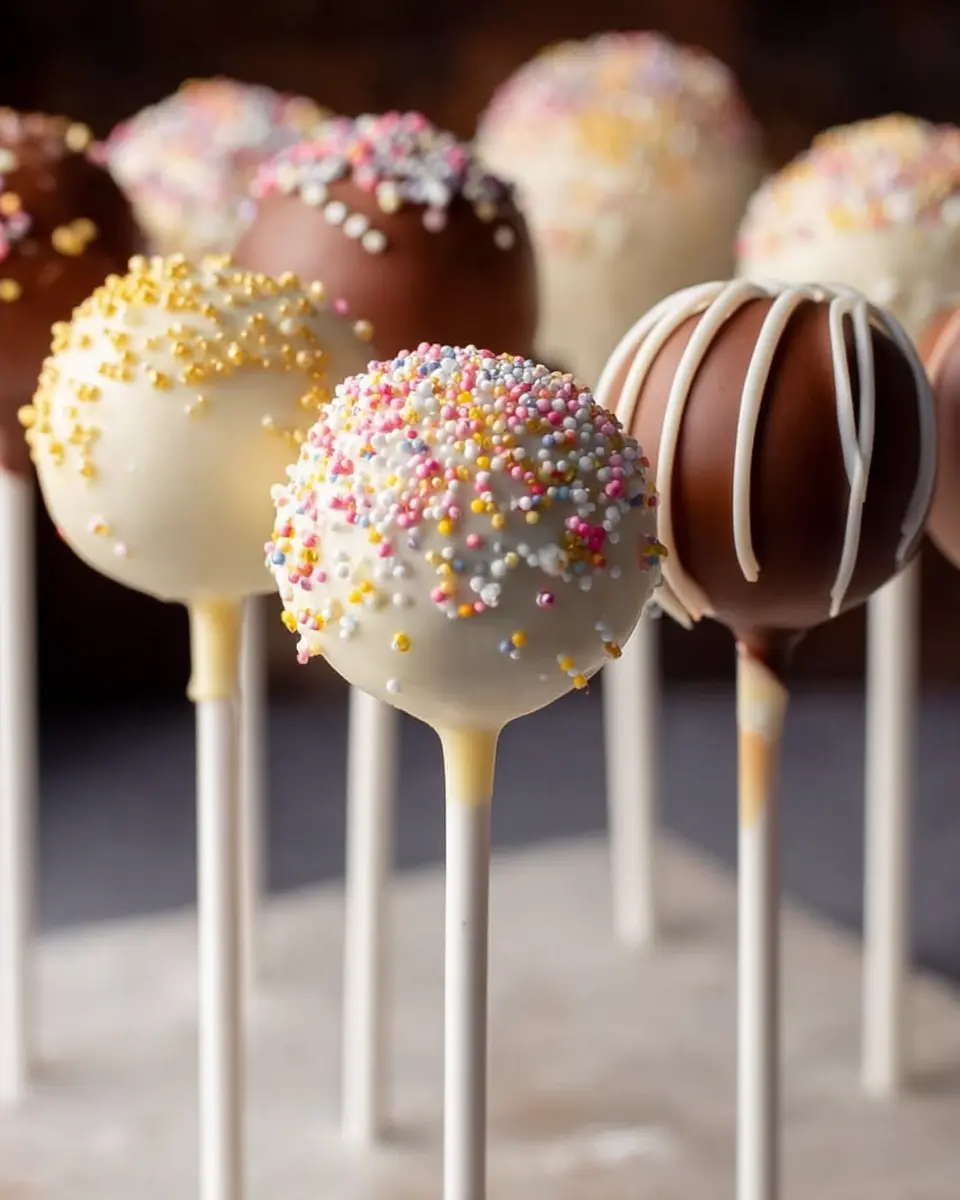
Decorated Cake Pops for Special Occasions
Bring your celebration to life with beautifully decorated homemade cake pops! For birthdays, add colorful sprinkles and themed decorations. If it’s an elegant event, drizzle some melted chocolate on top and sprinkle with edible glitter for a sophisticated touch. Seasonal designs are delightful too; think ghost-shaped pops for Halloween or heart-shaped ones for Valentine’s Day. These small treats can make a big impact, not just through flavor but through thoughtful presentation. Need some inspo? Check out this guide from Taste of Home for more creative decorating ideas!
Baking Notes for Homemade Cake Pops
Tips for Perfect Cake Texture
Achieving the ideal texture in your homemade cake pops begins with the cake itself. Make sure to mix your batter thoroughly but don’t overdo it—you want it well-combined yet still tender. Let your cake cool completely before crumbling, as this helps prevent overly moist pops. Using room temperature ingredients, like your butter and eggs, can also enhance the final texture.
Common Mistakes to Avoid
To achieve smooth, delightful cake pops, be mindful of a few common pitfalls. Avoid using warm cake, as it can lead to squished or misshapen pops. Another mistake is not chilling the cake balls enough before dipping; this crucial step helps them hold their shape. Always be cautious with your candy coating—too thick, and it won’t set right. Take your time with these steps, and you’ll end up with beautiful treats! For more tips, check out Sally's Baking Addiction for in-depth guidance.
Serving Suggestions for Homemade Cake Pops
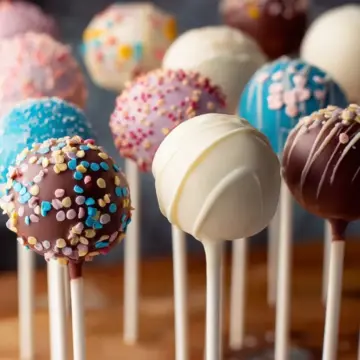
Creative Serving Ideas
Homemade cake pops are as fun to present as they are to eat! Consider arranging them in a colorful bouquet for a playful centerpiece at your next gathering. You can also display them on a tiered stand for a more sophisticated touch. For a themed party, customize the decorations with edible glitter or candy that matches the occasion!
Pairing with Drinks or Snacks
Cake pops pair beautifully with various beverages. Serve them alongside steaming cups of coffee or chilled smoothies for a delightful afternoon treat. If you’re hosting a casual gathering, why not offer them alongside fresh fruits? Their sweet flavor balances the natural tartness, making for a refreshing combo. Check out some smoothie recipes for excellent pairing ideas!
Tips for Making Perfect Homemade Cake Pops
Ensuring Even Coating
For beautiful, uniform homemade cake pops, start with your cake balls chilled—they should be firm enough to dip but not too cold that the coating doesn't adhere. When dipping, swirl the cake pop in the melted coating to ensure it’s fully covered, and gently tap off the excess to avoid drips or puddles. Using a tall, narrow glass for dipping can help maintain that smooth finish.
Maintaining Cake Ball Shape
To keep your cake pops perfectly round, make sure to form the cake balls using consistent pressure while rolling. After rolling, chill them for at least an hour. If they start to lose shape, a quick re-roll will help. Remember, working in small batches will help you maintain control and achieve that ideal texture. For a helpful guide, check out this article on cake pop techniques.
Time Details for Homemade Cake Pops
Preparation Time
Creating your homemade cake pops is a fun experience! Set aside approximately 2 hours for preparation, which includes making the cake, cooling it, and mixing in the frosting.
Baking Time
You’ll spend about 30 to 36 minutes baking the cake, so don't forget to keep an eye on it! A toothpick inserted into the center should come out clean when it's ready.
Total Time
All in all, plan for 7 hours from start to finish. This includes preparation, baking, chilling, and decorating your delightful cake pops, making them perfect for any occasion!
For more tips on cake pop making, check out this guide on cake pops.
Nutritional Information for Homemade Cake Pops
Calories
A single homemade cake pop contains approximately 150 calories, making it a delightful yet indulgent treat for special occasions or a sweet snack.
Sugar Content
Each cake pop has around 12 grams of sugar. While it satisfies your sweet tooth, it’s a good idea to enjoy them in moderation.
Serving Size
This recipe yields about 40 delicious cake pops, perfect for sharing at parties or celebrating a small gathering. Each serving size is one cake pop, offering a bite-sized escape into flavor.
For more insights on healthier baking options, check out this guide on the importance of ingredient quality. Whether you’re crafting homemade cake pops for a birthday party or just a weekend treat, understanding these nutritional details can help you make informed choices.
FAQs about Homemade Cake Pops
How can I prevent cake pops from falling off the stick?
To ensure your homemade cake pops stay securely on the stick, follow these tips:
- Chill the cake balls: Make sure to refrigerate the rolled cake balls for at least 2 hours. This helps them hold their shape.
- Dip the stick: Before inserting the stick, dip it in melted coating. This helps create a stabilizing bond between the coating and the cake pop.
- Don’t push too deep: Insert the stick only halfway into the cake ball to maintain its integrity.
What is the best way to store cake pops?
Store your cake pops in an airtight container in the refrigerator for up to one week. If you're looking to keep them for a longer period, place them in the freezer, where they can last up to six weeks.
Can I make cake pops ahead of time?
Absolutely! You can prepare the cake and frosting a day in advance. Form the cake balls and refrigerate them up to 2 days beforehand or freeze them for up to six weeks, thawing in the refrigerator before dipping.
For more tips on cake storage, check out this guide from The Kitchn.
Conclusion on Homemade Cake Pops
Creating your own homemade cake pops is a delicious and rewarding experience. With a bit of patience and love, anyone can master these delightful treats. Perfect for celebrations or just a sweet escape, they allow for creativity with flavors and decorations. So grab your ingredients and start baking!
Homemade Cake Pops
Equipment
- 9-inch springform pan
- handheld mixer
- Stand Mixer
- microwave-safe bowl
- baking sheet
- Cooling Rack
- Lollipop sticks
- Glass measuring cup
- Silicone baking mat
Ingredients
Cake Ingredients
- 1 and ⅔ cups all-purpose flour spooned & leveled
- ½ teaspoon baking powder
- ¼ teaspoon baking soda
- ½ teaspoon salt
- ½ cup unsalted butter softened to room temperature
- 1 cup granulated sugar
- 1 large egg at room temperature
- 2 teaspoons pure vanilla extract
- 1 cup whole milk or buttermilk
Frosting Ingredients
- 7 tablespoons unsalted butter softened to room temperature
- 1 and ¾ cups confectioners’ sugar
- 2–3 teaspoons heavy cream or whole milk
- 1 teaspoon pure vanilla extract
Coating Ingredients
- 24 ounces candy melts or white chocolate bars
- sprinkles
Instructions
Instructions
- Preheat oven to 350°F (177°C). Grease a 9-inch springform pan.
- Make the cake: Whisk the flour, baking powder, baking soda, and salt together in a medium bowl. Set aside. Using a handheld or stand mixer fitted with a paddle or whisk attachment, beat the butter and sugar together in a large bowl until creamed, about 3 minutes. Add the egg and vanilla extract and beat on high speed until combined. Scrape down the bottom and sides of the bowl as needed.
- Add the dry ingredients and milk to the bowl with the wet ingredients and mix on low speed until combined. Give the thick batter a quick stir with a spatula to ensure there are no large lumps at the bottom of the bowl. Pour and spread the batter evenly into the prepared pan. Bake for 30-36 minutes or until a toothpick inserted in the center comes out clean. If the top begins browning too quickly in the oven, loosely tent with a piece of aluminum foil.
- Allow the cake to cool completely in the pan set on a wire rack.
- Make the frosting: With a handheld or stand mixer fitted with a paddle attachment, beat the butter on medium speed until creamy, about 2 minutes. Add confectioners’ sugar, heavy cream, and vanilla extract and mix on low speed to combine. Increase to high speed and beat for 3 full minutes.
- Crumble the cooled cake into the bowl on top of the frosting. Make sure there are no large lumps. Turn the mixer on low speed and beat the frosting and cake crumbles together until combined.
- Scoop 1 tablespoon (about 20g) of cake/frosting mixture and roll into a ball. Place balls on a lined baking sheet. Refrigerate for 2 hours, or freeze for 1 hour to set the shape. Re-roll the chilled cake pop balls to smooth out, if needed.
- Melt the chocolate or candy melts in a 2-cup liquid measuring cup in the microwave in 20-second increments, stirring after each increment, until melted and smooth.
- Coat the cake balls: Remove just 2 or 3 cake balls from the refrigerator at a time. Dip the end of a lollipop stick about ½ inch into the coating, then insert the coated end into the center of the cake ball. Only push it about halfway through the cake ball. Dip the cake ball into the coating until it is completely covered.
- Make sure the coating covers the base of the cake ball where it meets the lollipop stick. Very gently tap the stick against the edge of the measuring cup to allow excess coating to drip off. Decorate the top with sprinkles and place upright into a styrofoam block or box.
- Repeat with remaining cake balls, working with just a few out of the refrigerator at a time. The cake balls must be very cold when dipping!
- Coating will set within an hour. Store cake pops in the refrigerator for up to 1 week.

Leave a Reply