
Introduction to Cheesy Garlic Chicken Wraps
When you're juggling a busy career and social life, finding the perfect meal can be a challenge. Enter cheesy garlic chicken wraps — a go-to dish designed for young professionals who crave deliciousness without spending hours in the kitchen. Not only are these wraps loaded with gooey cheese and savory garlic, but they also boast a high-protein filling that keeps you satisfied throughout the day.
Packed with nutrients, they meet not just your hunger needs but also your ongoing quest for healthier meal options. With just 15 minutes of prep and minimal cooking time, you can whip up a satisfying lunch or dinner in no time. If you’d like to explore more about the benefits of high-protein diets, check out sources like Healthline.
Feeling those mid-afternoon hunger pangs? Grab a wrap! They’re perfect for meal prep, and you can even make the filling a few days ahead. Picture enjoying one of these wraps with fresh veggies on the side, all while catching up on your favorite podcast. What could be better? Next time you’re in a culinary quandary, keep these cheesy garlic chicken wraps in mind — your taste buds and busy schedule will thank you!
Ingredients for Cheesy Garlic Chicken Wraps
When you’re craving something warm, cheesy, and oh-so-delicious, these cheesy garlic chicken wraps are the answer. Let’s dive into the star ingredients that bring this recipe to life.
Tortillas and Chicken
- 2 large tortillas – Choose between regular or low-carb/high-protein options depending on your diet.
- 7 oz cooked chicken – About 200 grams of chopped chicken (rotisserie works wonders here).
Flavor Boosters
- 2 garlic cloves – Minced or grated, garlic is the real MVP for flavor (adjust to your liking!).
- 2 tablespoons light mayonnaise & 1 tablespoon light Greek yogurt – A creamy blend to keep things moist and easy to spread.
Essentials and Extras
- 2 teaspoons hot sauce – Think Frank’s or any sauce that adds a kick.
- ¼ teaspoon salt – Just enough to enhance all the flavors.
- 3 oz grated cheese – A cheddar blend brings that melty goodness we all crave.
- 1 green onion – Chopped for a fresh, vibrant touch.
- Olive oil spray – To crisp up those wraps to perfection.
These simple yet effective ingredients come together beautifully, making your cheesy garlic chicken wraps a highlight of your meal prep! For expert tips and inspiration, check out Food Network or BBC Good Food.
Preparing Cheesy Garlic Chicken Wraps
Who doesn’t love the comfort of a warm, cheesy wrap, especially when it’s filled with tender chicken and flavorful garlic? In this section, I'll walk you through the simple process of preparing these cheesy garlic chicken wraps, ensuring you end up with a delicious meal that will delight your taste buds. Let’s get started!
Gather Your Ingredients
The first step to creating these delightful wraps is gathering your ingredients. Here’s what you’ll need:
- 2 large tortillas (regular or low-carb/high-protein)
- 7 oz cooked chicken, chopped (rotisserie chicken works wonderfully)
- 2 garlic cloves, minced or grated (you can adjust this based on your garlic love)
- 2 tablespoons light mayonnaise
- 1 tablespoon light Greek yogurt or plain yogurt
- 2 teaspoons hot sauce (Frank’s is a great choice)
- ¼ teaspoon salt
- 3 oz grated cheese (I recommend a cheddar blend for that melty goodness)
- 1 green onion, chopped
- Olive oil spray
Check your pantry; you might already have some of these essentials. For more information on ingredient substitutes or variations, feel free to explore reputable cooking sites like BBC Good Food or Serious Eats.
Prepare the Chicken Filling
Now that you have everything ready, it’s time to whip up the chicken filling. In a mixing bowl, combine the chopped chicken, minced garlic, light mayonnaise, Greek yogurt, hot sauce, and salt. Stir it all together until it’s well mixed. The goal is to create a creamy, flavorful filling.
This blend not only enhances the taste but also provides a high protein boost, making it ideal for lunches or quick dinners. Plus, you can make this filling ahead of time and store it in the fridge for up to three days. Handy, right?
Assemble the Wraps
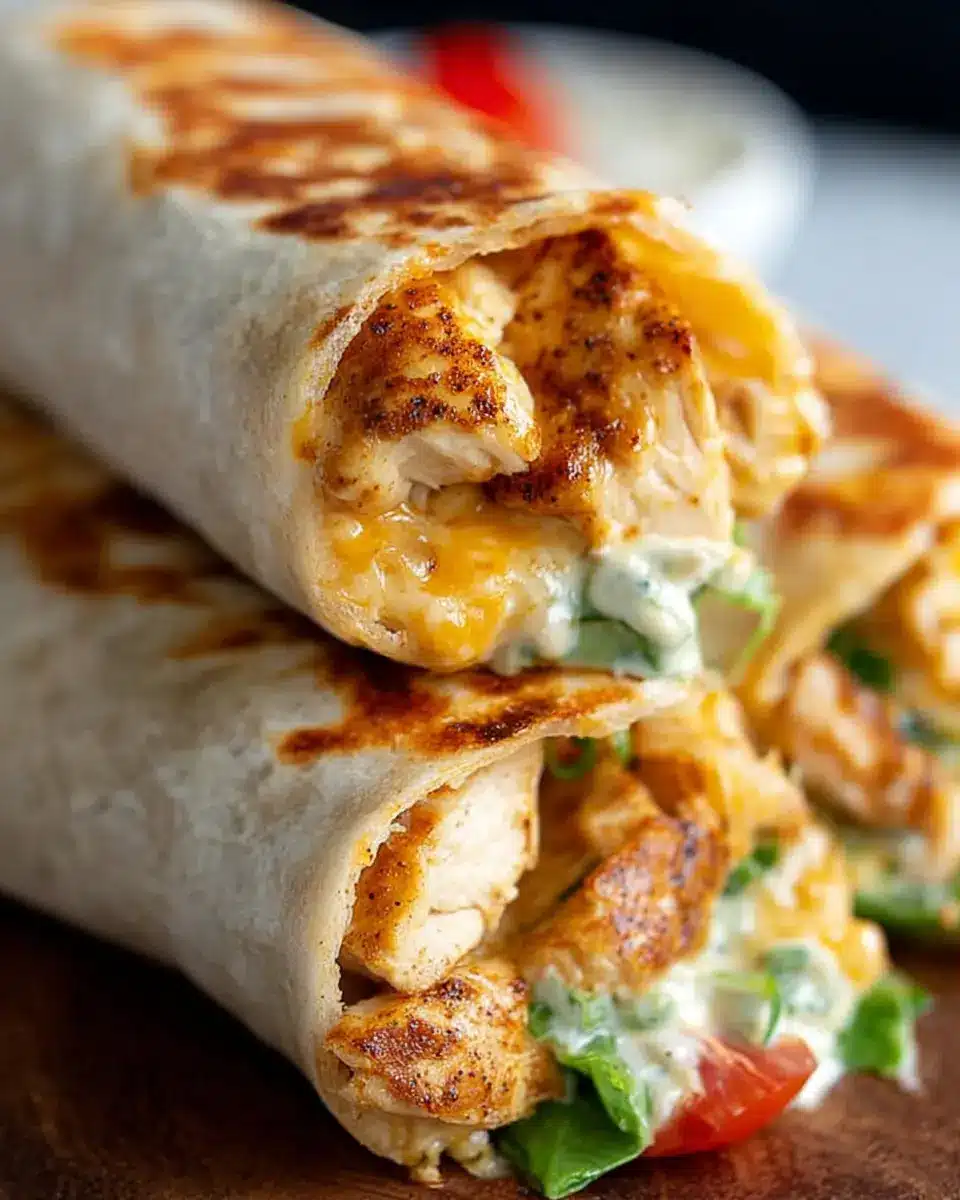
With the filling prepared, it's time to assemble your cheesy garlic chicken wraps. Lay out your tortilla flat. On the lower third, sprinkle about 2 tablespoons of cheese, followed by approximately ⅔ cup of your chicken mixture. Top it with an additional tablespoon of cheese and a sprinkle of green onion for that fresh bite.
Now comes the fun part: carefully fold the sides of the tortilla inwards and roll it up tightly from the bottom. This is where the magic happens! The more tightly you roll it, the better everything stays inside while cooking.
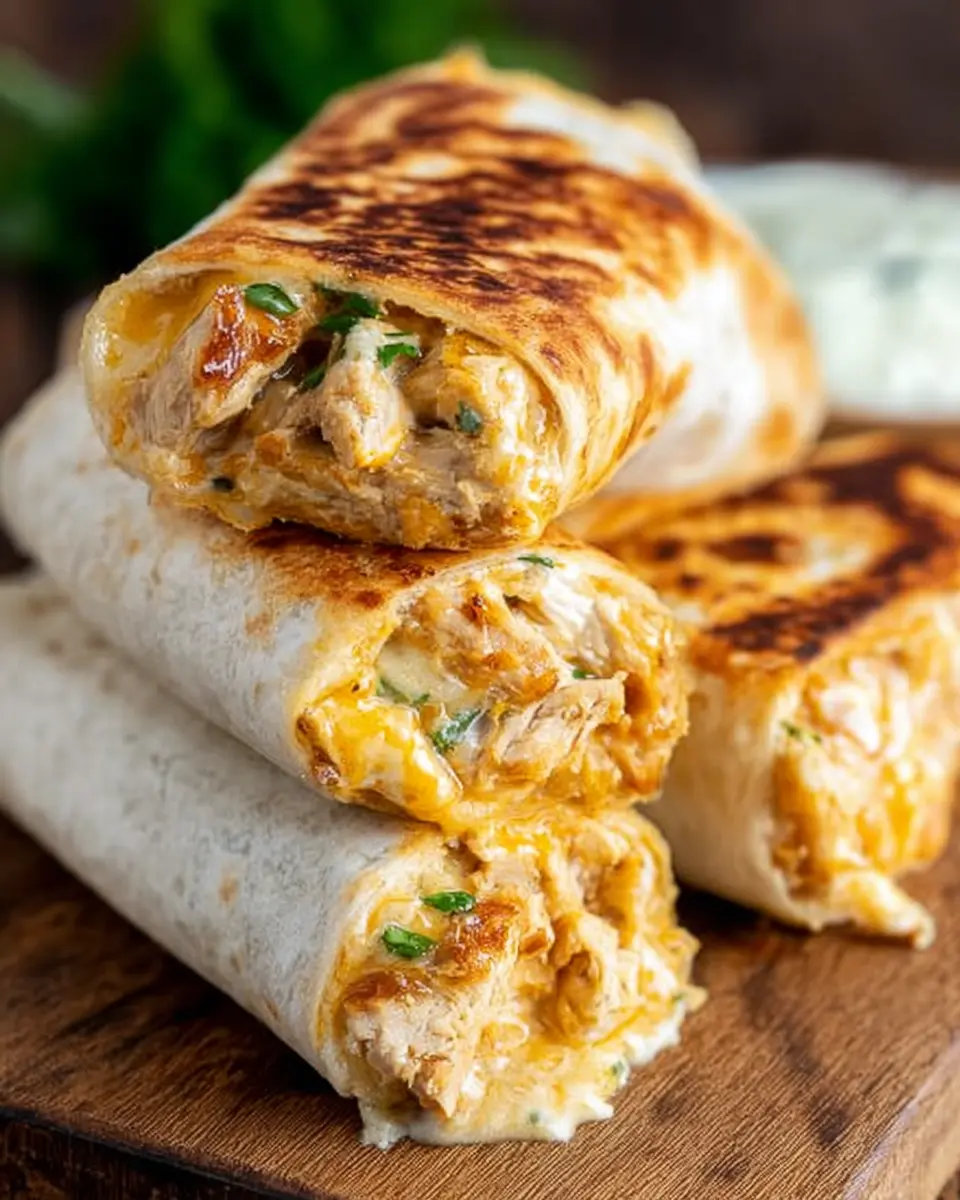
Cook the Wraps to Crispy Perfection
Heat a non-stick pan over medium-high heat and spray it lightly with olive oil. Place your wraps seam-side down in the pan. Let them cook for about 3-4 minutes on each side until they turn golden brown and crispy. Cover the pan with a lid for a few minutes to ensure that the cheese inside melts beautifully and the filling heats through.
Serve and Enjoy!
Once your wraps are beautifully golden and crispy, slice them in half and get ready to dig in! These cheesy garlic chicken wraps are perfect on their own, but they shine even brighter when paired with a fresh salad or roasted veggies. For an extra kick, consider serving them with a side of salsa or some zesty pickles.
Enjoy the delightful combination of crispy, cheesy, and garlicky goodness. Happy cooking!

Variations on Cheesy Garlic Chicken Wraps
Spicy Cheesy Garlic Chicken Wraps
If you’re looking to kick things up a notch, try adding some jalapeños or a spicier hot sauce to your cheesy garlic chicken wraps. The heat perfectly contrasts with the creamy cheese, making every bite a delicious adventure. You could also mix in some diced poblano peppers for a milder yet flavorful twist.
Veggie-Loaded Cheesy Wraps
For a healthier option, incorporate your favorite veggies into the mix. Spinach, bell peppers, and mushrooms can all add vitamins and crunch to your cheesy garlic chicken wraps. This variation packs in more nutrients while keeping that comforting essence everyone loves.
Cheesy Chicken Wraps with Different Cheeses
Switch up your cheese game! While a cheddar blend is delightful, how about using mozzarella for that extra stretch, or sharp provolone for more flavor? Experiment with combinations to create your ultimate cheesy garlic chicken wraps. The possibilities are as endless as your cravings!
For more ideas on customizing wraps, check out this guide on creative wraps.
Cooking tips and notes for Cheesy Garlic Chicken Wraps
Make-ahead options
Preparing in advance can save you precious time. You can whip up the cheesy garlic chicken wraps filling 2-3 days ahead and store it in the fridge. This way, all you need to do is assemble and cook when hunger strikes!
Cooking methods overview
While pan-frying is a classic method for that perfect crisp, feel free to explore. An air fryer at 375°F (190°C) cooks them beautifully in just 6-8 minutes. You can also bake them at 400°F (200°C) for 10-12 minutes, flipping once for an even golden-brown finish. Dive into more tips on cooking techniques here for inspiration!
Remember, whether you fry, bake, or air-fry, your cheesy garlic chicken wraps will deliver satisfying flavors every time!
Serving suggestions for Cheesy Garlic Chicken Wraps
Pairing with salads or veggies
These cheesy garlic chicken wraps are satisfying enough to stand alone, but they shine even brighter when paired with a vibrant side. Consider serving them with a crunchy garden salad or your favorite roasted veggies for a delicious contrast in textures. A simple mix of romaine, cherry tomatoes, and cucumber dressed in a light vinaigrette complements the richness of the wraps beautifully. Feeling adventurous? Try adding a handful of arugula for a peppery kick!
Dipping options for extra flavor
For an extra layer of flavor, explore some fun dipping options. Classic salsa or tangy guacamole can elevate your wrap experience, while a creamy ranch or chipotle sauce adds a zesty touch. If you want a sweet and spicy combo, serve with honey mustard or a drizzle of sriracha. The right dip can turn a straightforward meal into something truly special!
Time Breakdown for Cheesy Garlic Chicken Wraps
Preparation Time
Getting ready to make these cheesy garlic chicken wraps is a breeze! You’ll only need about 15 minutes to gather your ingredients, chop your chicken, and mix everything up.
Cooking Time
Once you’re prepped, the magic happens quickly! Cooking the wraps will take around 7 minutes. Just fry them up until they're golden and crispy.
Total Time
All in all, you’re looking at a total time of just 22 minutes from start to finish. That's faster than a lunch break! If you're curious about enhancing your meal prep skills, check out this guide on quick meal preparations. Enjoy your delicious wraps!
Nutritional Facts for Cheesy Garlic Chicken Wraps
Calories
Each serving of cheesy garlic chicken wraps contains approximately 476 calories. This makes it a filling option for lunch or dinner without going overboard on your daily intake.
Protein
Loaded with about 38 grams of protein, these wraps are ideal for those looking to boost their protein levels. Featuring tender chicken and cheesy goodness, they're both satisfying and nutritious.
Sodium
Keep an eye on your sodium intake, as these wraps contain around 1,090 mg of sodium per serving. Pair them with fresh veggies or a homemade salad to balance your meal and keep the flavor intact.
For more information on dietary guidelines and nutritional advice, check out sources like The American Heart Association or Nutrition.gov.
FAQs about Cheesy Garlic Chicken Wraps
Can I use leftover chicken for the wraps?
Absolutely! Using leftover chicken is a fantastic way to save time and reduce food waste. Shredded rotisserie chicken works wonderfully in these wraps, providing great flavor and texture. Just make sure the chicken is reheated properly for the best experience!
How do I store leftover wraps?
To store your delicious cheesy garlic chicken wraps, keep them in an airtight container in the fridge for up to two days. When you're ready to enjoy them again, reheat in a skillet or air fryer to restore that crispy exterior. This method is key to ensuring your wraps taste just as good as when you first made them!
Can I make these wraps gluten-free?
Definitely! To make cheesy garlic chicken wraps gluten-free, simply swap regular tortillas for gluten-free ones, which are widely available in grocery stores. Be sure to check the label on the tortillas to ensure they meet your dietary needs. Enjoy these delicious wraps without compromise!
For more tips on gluten-free cooking, check out this resource for additional insights.
Conclusion on Cheesy Garlic Chicken Wraps
In conclusion, these cheesy garlic chicken wraps are a delightful, high-protein meal that suits lunch or dinner perfectly. With minimal prep and cook time, they're ideal for busy professionals. Try serving them with a crunchy salad or roasted veggies to elevate your dining experience. Enjoy the gooey goodness!

Cheesy Garlic Chicken Wraps
Equipment
- non-stick pan
- mixing bowl
Ingredients
- 2 large tortillas regular or low-carb/high-protein
- 7 oz cooked chicken about 200 grams, chopped (rotisserie is great)
- 2 cloves garlic minced or grated (adjust to taste)
- 2 tablespoons light mayonnaise
- 1 tablespoon light Greek yogurt or plain yogurt
- 2 teaspoons hot sauce like Frank’s
- ¼ teaspoon salt
- 3 oz grated cheese about 90 grams (I used a cheddar blend)
- 1 green onion chopped
- olive oil spray
Instructions
- In a bowl, mix chopped chicken, garlic, mayonnaise, yogurt, hot sauce, and salt.
- Lay out your wrap. On the lower third of the tortilla, sprinkle about 2 tablespoons of cheese, then top with about ⅔ cup of the chicken mixture. Add another tablespoon of cheese and a sprinkle of green onion.
- Fold in the sides of the tortilla, then roll it up tightly from the bottom.
- Heat a non-stick pan over medium-high. Spray with olive oil.
- Place wraps seam-side down. Cook for 3–4 minutes per side until crispy and golden. Cover with a lid to help heat the inside.
- Slice in half and serve!

Leave a Reply