
Introduction to Red Velvet Crinkle Cookies
When the holiday season rolls around, the quest for the ultimate festive treat often begins. Enter red velvet crinkle cookies—soft, chewy, and irresistibly vibrant. But what makes these cookies a must-bake during this merry time of year?
Why are red velvet crinkle cookies the ultimate holiday treat?
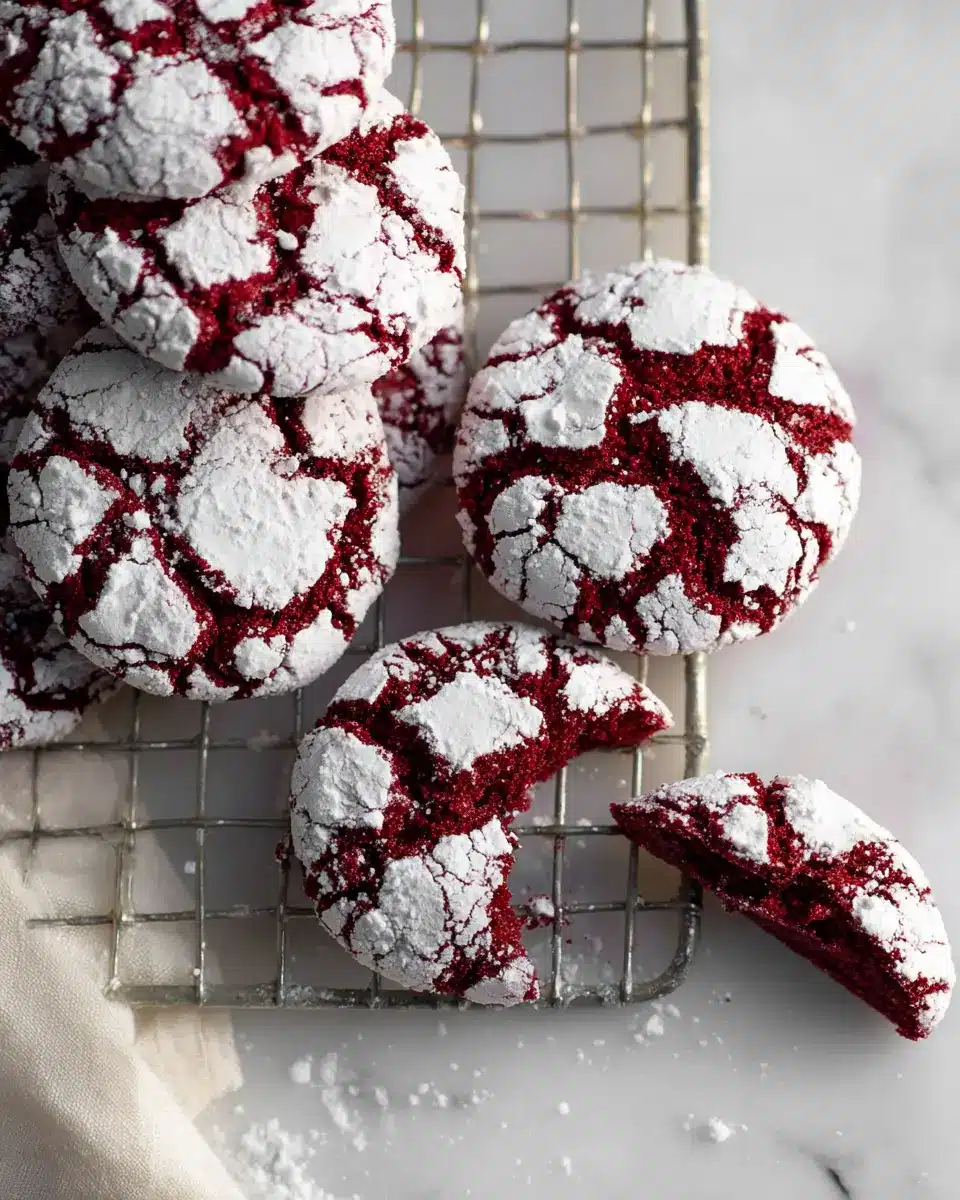
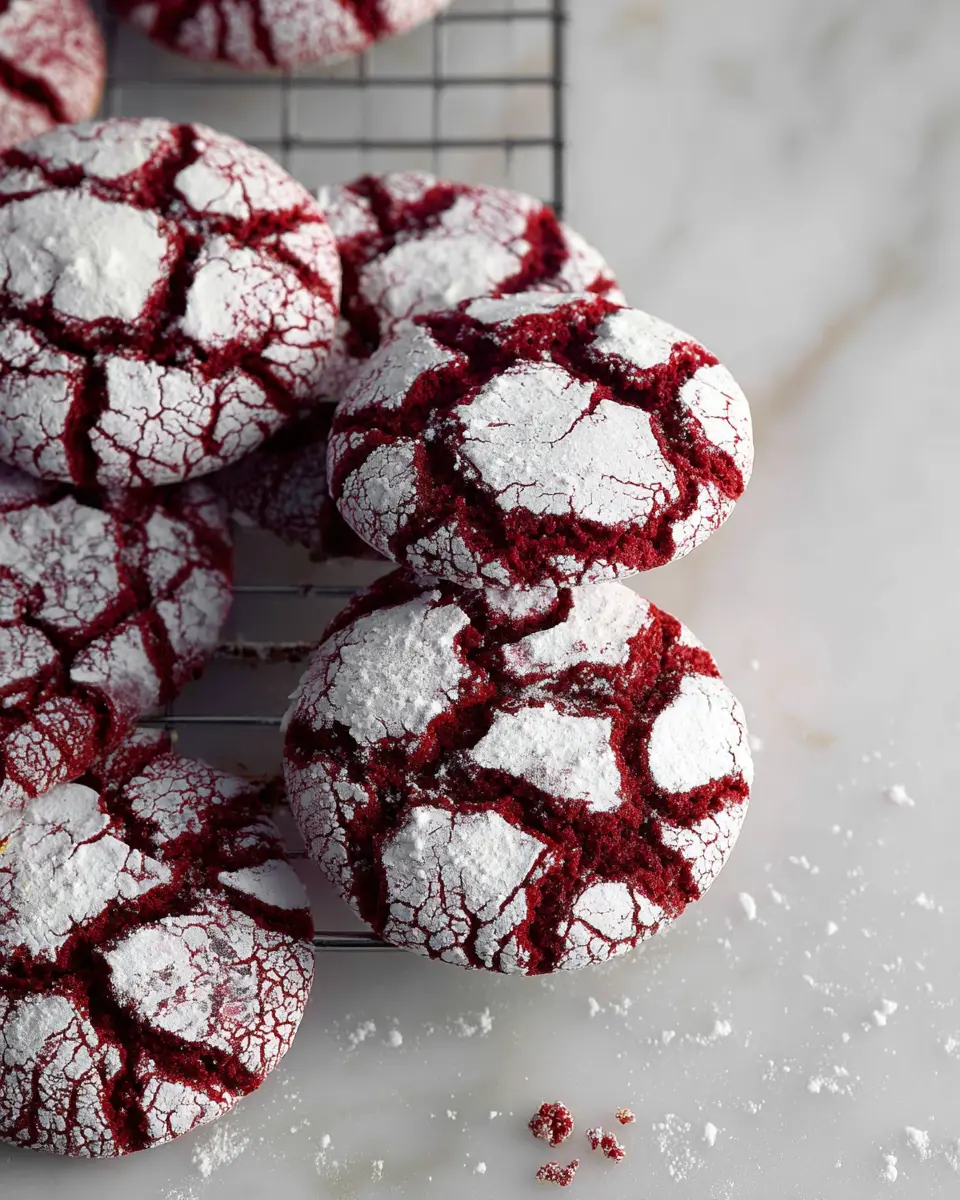
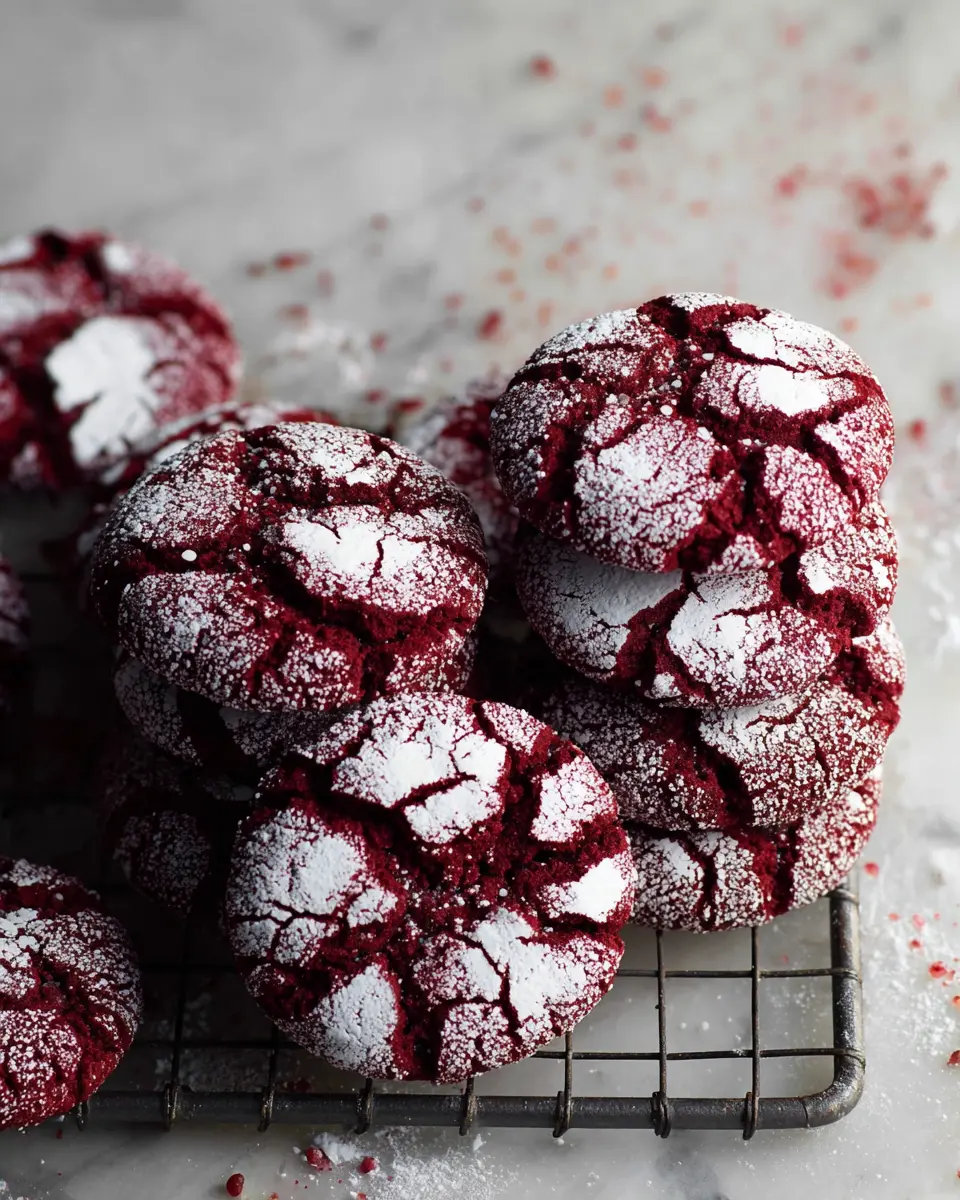
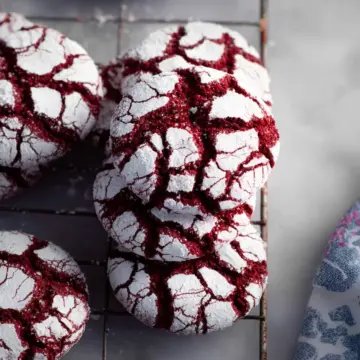
First and foremost, their stunning red color adds a delightful splash to any holiday dessert table. The visual appeal alone is enough to entice your friends and family. Plus, these cookies offer a perfect balance of fudgy richness and a light crunch from the powdered sugar coating, satisfying every palate. The harmonious blend of cocoa and vanilla creates a flavor profile that feels both nostalgic and novel, making them a delightful addition to any gathering.
Beyond taste, sharing these cookies brings joy—whether you're wrapping them as gifts, showcasing them at a holiday party, or leaving them for Santa. Baking red velvet crinkle cookies is also a fantastic way to bond with friends or kids in the kitchen, creating memories that last long after the cookies are gone. For more festive inspirations, check out Food Network's top holiday cookie recipes.
Ready to dive into this delectable cookie adventure? Let’s get to the recipe!
Ingredients for Red Velvet Crinkle Cookies
When crafting those delightful red velvet crinkle cookies, it's all about sourcing the right ingredients to ensure they turn out rich, tender, and oh-so-decadent. Let’s dive into what you’ll need!
Essential ingredients for rich flavor
For that unmistakable taste, gather the following key ingredients:
- Unsalted butter: ½ cup, softened to create a rich base.
- Light brown sugar: ¾ cup, packed tight to add depth.
- Granulated sugar: ½ cup, which balances the sweetness.
- Eggs: 2 large, ideally at room temperature to blend smoothly.
- Vanilla extract: 2 teaspoons for a hint of warmth.
- Red food coloring: ½ teaspoon for that signature hue, professional quality is best.
These ingredients not only deliver flavor but also contribute to the overall texture of your cookies.
Ingredients for the perfect coating
To achieve the crinkle effect that makes these cookies so irresistible, you’ll need:
- Granulated sugar: ½ cup for the first roll.
- Powdered sugar: ½ cup for the second coat, providing that snowy finish.
This dual-layer of sugar is what gives red velvet crinkle cookies their charming cracked appearance. Happy baking!
Preparing Red Velvet Crinkle Cookies
Making red velvet crinkle cookies is a delightful way to indulge in a classic treat that’s bursting with flavor and holiday cheer. Let’s walk through the steps to creating these deliciously fudgy cookies that are perfect for any gathering!
Gather and prep your ingredients
Before diving into the mixing bowl, it’s important to gather all the necessary ingredients. Here’s what you’ll need:
- Unsalted butter
- Light brown sugar and granulated sugar
- Eggs
- Vanilla extract
- Professional red food coloring
- All-purpose flour, cocoa powder, baking powder, and salt
Having everything at hand not only speeds up the process but ensures you won’t forget key components. For a helpful guide on baking essentials, consider checking the Baking Basics from King Arthur Baking.
Creaming the butter and sugars
In a large mixing bowl, start by creaming together the softened unsalted butter, brown sugar, and granulated sugar. It’s best to use an electric mixer for this step to achieve a light and fluffy texture, which is crucial for red velvet crinkle cookies. You want to mix until the ingredients are well combined, taking about 2-3 minutes. Scrape down the bowl as needed to ensure even mixing.
Beating in the eggs and adding color
Once your butter and sugars are fluffy, it’s time to add in the eggs one at a time. Make sure to beat well after each addition to incorporate them fully. Following that, add the vanilla extract and the all-important professional red food coloring. This will not only give your cookies that vibrant color but also contribute to their unique flavor profile.
Sifting and combining dry ingredients
In a separate bowl, sift together the dry ingredients: all-purpose flour, cocoa powder, baking powder, and salt. Why sifting? This step aerates the flour and helps prevent any lumps, ensuring a smooth dough. Gradually mix this dry ingredient blend with your wet mixture until fully combined. The dough will be rich and slightly sticky, just the way we want it!
Shaping and coating the cookie dough
To shape your red velvet crinkle cookies, use a cookie scoop or tablespoon to portion out the dough. Roll each scoop into a ball, and then coat first in granulated sugar and then in powdered sugar. This double coating creates that coveted crinkle effect as the cookies bake! Place the coated balls on a prepared baking sheet about an inch apart.
Baking to cookie perfection
Preheat your oven to 350°F. Bake your cookies for approximately 10 minutes; they should puff up and develop a crackled appearance, while remaining somewhat gooey in the center. After baking, let the cookies cool on a rack, giving them a chance to firm up a little. Trust me, the smell wafting through your kitchen will have everyone congregating to check if they’re ready to be devoured!
And there you have it! These red velvet crinkle cookies are simple to make and sure to bring smiles all around. Enjoy them fresh out of the oven or pack them as thoughtful treats for friends and family. Happy baking!
Variations on Red Velvet Crinkle Cookies
If you love the fudgy magic of red velvet crinkle cookies, why not explore some delicious variations? Here are a couple of ideas to get your creative juices flowing!
Red Velvet Crinkle Brownies
Craving that rich red velvet flavor with a twist? Consider making red velvet crinkle brownies! Simply adapt your favorite brownie recipe by adding a touch of cocoa powder, a splash of buttermilk for that signature tartness, and of course, the iconic red food coloring. The result? A chewy, fudgy brownie that boasts those lovely crinkles on top!
Gluten-Free Red Velvet Crinkle Cookies
Everyone deserves to enjoy these treats, including those on a gluten-free diet. To make gluten-free red velvet crinkle cookies, swap all-purpose flour with a 1:1 gluten-free baking blend. Make sure it contains xanthan gum for proper structure. These cookies will still maintain that wonderful texture and vibrant color, ensuring that nobody misses out on the fun!
For more baking tips, check out the Gluten-Free Baking Guide from King Arthur Flour. Whether it’s for a festive gathering or a cozy night in, these variations will add a delightful twist to your cookie jar!
Baking notes for Red Velvet Crinkle Cookies
Common mistakes to avoid
When making red velvet crinkle cookies, there are a few pitfalls to keep an eye on. Overmixing the dough can lead to tough cookies, so blend until just combined. Another common mistake is not chilling the dough enough before rolling them in sugar; this can result in flat cookies. Lastly, don't skip the baking time; these cookies should be slightly gooey in the center for that perfect fudgy texture.
The importance of ingredient temperature
Using room temperature ingredients is crucial for achieving the ideal consistency in your red velvet crinkle cookies. When butter and eggs are at room temperature, they blend more easily, leading to a more uniform dough. This ensures that your cookies puff up beautifully and have the right texture! So, remember to take your eggs out ahead of time and soften the butter to achieve that perfect cookie experience.
For more baking tips, check out this guide on the importance of proper ingredient temperature!
Serving suggestions for Red Velvet Crinkle Cookies
Pairing with Milk and Coffee
When it comes to enjoying your red velvet crinkle cookies, a tall glass of milk or a warm cup of coffee is the perfect companion. The rich, fudgy texture of the cookies pairs beautifully with the creamy sweetness of milk, while a robust coffee can enhance the chocolatey flavor. If you're feeling adventurous, try a mocha or a flavored latte to elevate your experience further.
Creative Ways to Present and Gift Cookies
These delightful cookies make fantastic gifts! Consider stacking them in a decorative box tied with a colorful ribbon or placing them in a festive tin. Adding a personal note or even a cute cookie-themed card can turn your gift into something truly special. If you're hosting a holiday party, arrange them on a platter with some festive decorations, making them eye-catching for your guests. For more ideas on gift presentation, check out this guide on creative cookie gifting.
Tips for Making Perfect Red Velvet Crinkle Cookies
Adjusting Baking Time for Different Ovens
When baking your red velvet crinkle cookies, it's essential to remember that oven temperatures can vary. If you're using a convection oven, reduce the baking time by a minute or two since they often cook more efficiently. Keep an eye on your cookies; they're done when they puff and crack but still have a slightly gooey center. If your cookies are consistently coming out overbaked, consider adjusting your baking temperature by 10 degrees Fahrenheit.
How to Achieve the Ideal Crinkle Effect
To get that beautiful crinkle look, proper coating is crucial. After rolling your red velvet crinkle cookie dough balls, ensure they're evenly coated in both granulated and powdered sugar. This dual coating creates a contrasting crust as they bake. Don't overcrowd the baking sheet; leaving space allows for expansion, enhancing the crinkle effect. Want a little extra guidance? Check out this article on baking tips for more insights!
Time Details for Red Velvet Crinkle Cookies
Preparation Time
You'll need about 10 minutes to get everything ready for these delightful red velvet crinkle cookies. This includes gathering your ingredients, preparing your baking sheet, and mixing the batter.
Baking Time
Once your cookies are rolled and ready, pop them in the oven for 10 minutes. Keep an eye on them as they bake; they should puff up nicely and show off their beautiful cracks!
Total Time
From start to finish, you can whip up these delicious cookies in just 20 minutes. Perfect for when you're short on time but still want to indulge or impress!
Ready to bake? Let’s dive into the recipe and create something special that’s sure to bring festive cheer! For additional baking tools, check out essential items like cookie scoops to make your cookie-making experience easier.
Nutritional Information for Red Velvet Crinkle Cookies
When indulging in the joy of red velvet crinkle cookies, it's good to know what you're enjoying. Here’s a quick rundown of their nutritional profile:
Calories
Each cookie packs around 150 calories, making it a delightful treat without excessive guilt.
Sugar Content
With approximately 12 grams of sugar per cookie, these cookies satisfy your sweet tooth while still feeling festive.
Key Nutrients
These cookies offer a modest amount of iron and calcium, thanks to the cocoa powder and butter, giving them a slight nutrient boost.
For more on how to incorporate treats like these into a balanced diet, check out The USDA Nutritional Guidelines for more insights! Happy baking!
FAQs about Red Velvet Crinkle Cookies
How do I store leftover cookies?
To keep your red velvet crinkle cookies fresh, store them in an airtight container at room temperature. They should last for about a week. If you want to maintain their fudgy texture, consider placing a slice of bread inside the container; it helps retain moisture!
Can I freeze the cookie dough?
Absolutely! You can freeze your red velvet crinkle cookies dough for up to three months. Just scoop the cookie balls and freeze them on a baking sheet until solid, then transfer them to a freezer-safe bag. When you're ready to bake, simply bake them directly from frozen, adding a minute or two to the baking time.
What if I don’t have red food coloring?
Not to worry! If you can’t find red food coloring, you can achieve a similar shade using beet juice, or even a mix of cocoa powder to darken the cookie without losing that rich flavor. Just keep in mind that the cookie's appearance might be a bit different, but it will still taste delicious!
Conclusion on Red Velvet Crinkle Cookies
Why You Should Try Baking These Cookies Today!
If you haven’t yet experienced the joy of red velvet crinkle cookies, it’s time to change that! With their vibrant color and delightful fudgy texture, these cookies are not only a treat for the taste buds but also a feast for the eyes. Whether you're hosting a gathering or simply craving something sweet, they’re the perfect choice. Gather your ingredients, follow the easy steps, and indulge in some holiday spirit. Happy baking!
For more festive ideas, check out Baker's Royale or Once Upon a Chef for delightful dessert inspiration!
Red Velvet Crinkle Cookies
Equipment
- baking sheet
- cookie scoops
- hand mixer (cordless)
- mixing bowl
- parchment paper sheets
- Rubber spatula
Ingredients
Main Ingredients
- ½ cup unsalted butter, softened
- ¾ cup light brown sugar, packed
- ½ cup granulated sugar
- 2 large eggs, room temperature
- 2 teaspoons vanilla extract
- ½ teaspoon professional red food coloring food coloring varies A LOT
- 2 cups all-purpose flour
- ⅓ cup cocoa powder
- 1 ½ teaspoons baking powder
- ½ teaspoon salt
Coating Ingredients
- ½ cup granulated sugar
- ½ cup powdered sugar
Instructions
Baking Instructions
- Preheat the oven to 350°F and line a baking sheet with parchment paper. Set aside.
- Cream the butter, brown sugar, and granulated sugar together in a large bowl until light and fluffy. Scrape down the bowl and add the eggs one at a time, beating between each addition. Add the vanilla and red food coloring, and mix well.
- In a separate bowl sift together the flour, cocoa powder, baking powder, and salt to combine. Add the dry ingredients to the wet and beat together until combined.
- Fill one bowl with granulated sugar and one bowl with powdered sugar. Use a 1 ounce cookie scoop to scoop cookies out. Roll the balls first in the granulated sugar and then in the powdered sugar to completely coat the cookie balls. Place on the prepared cookie sheet an inch apart.
- Bake for 10 minutes or until the cookies have puffed up and cracked, but are still a little gooey in the center.
- Allow to cool and enjoy with a glass of milk!
Leave a Reply