
Introduction to Bakery-Style Ciabatta
Why Homemade Ciabatta?
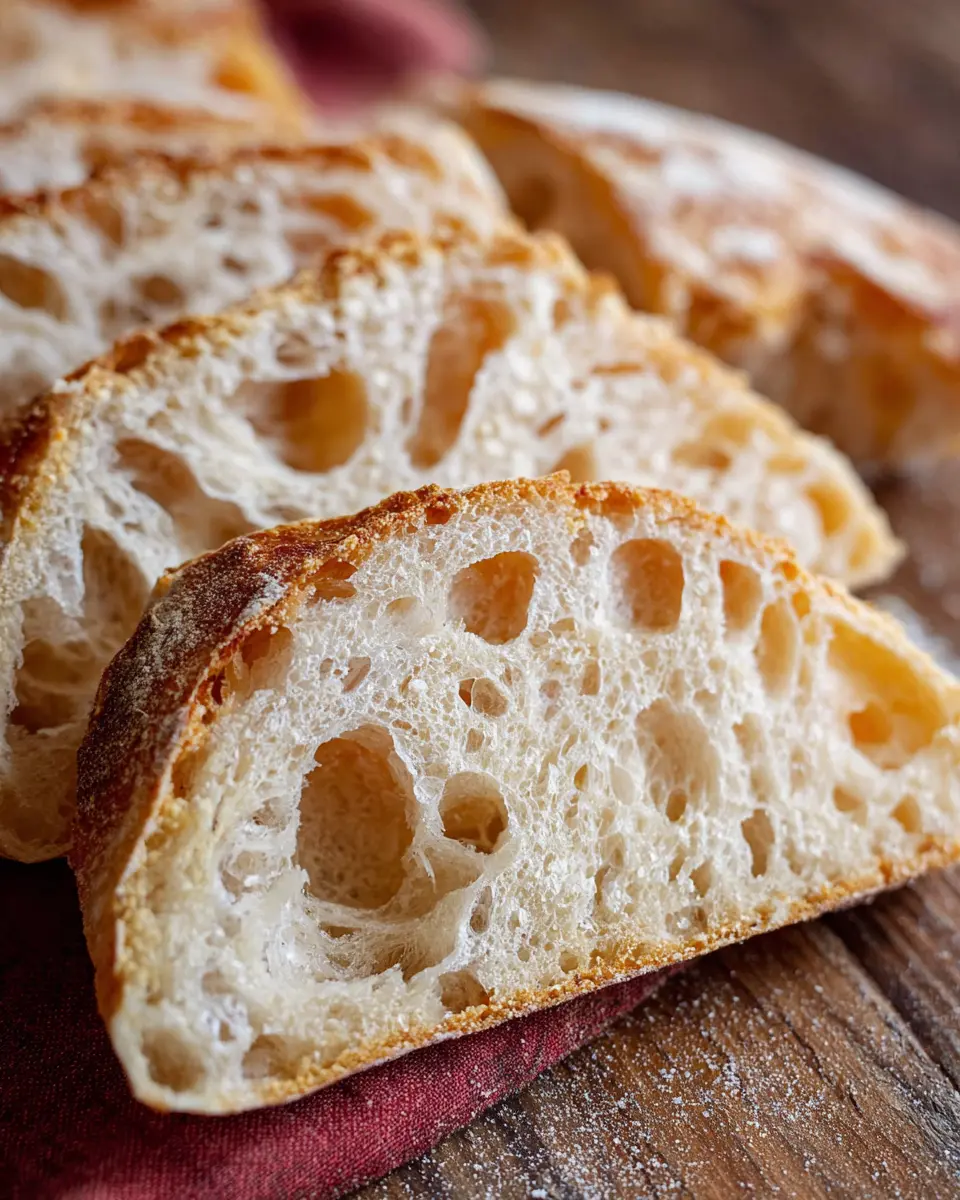
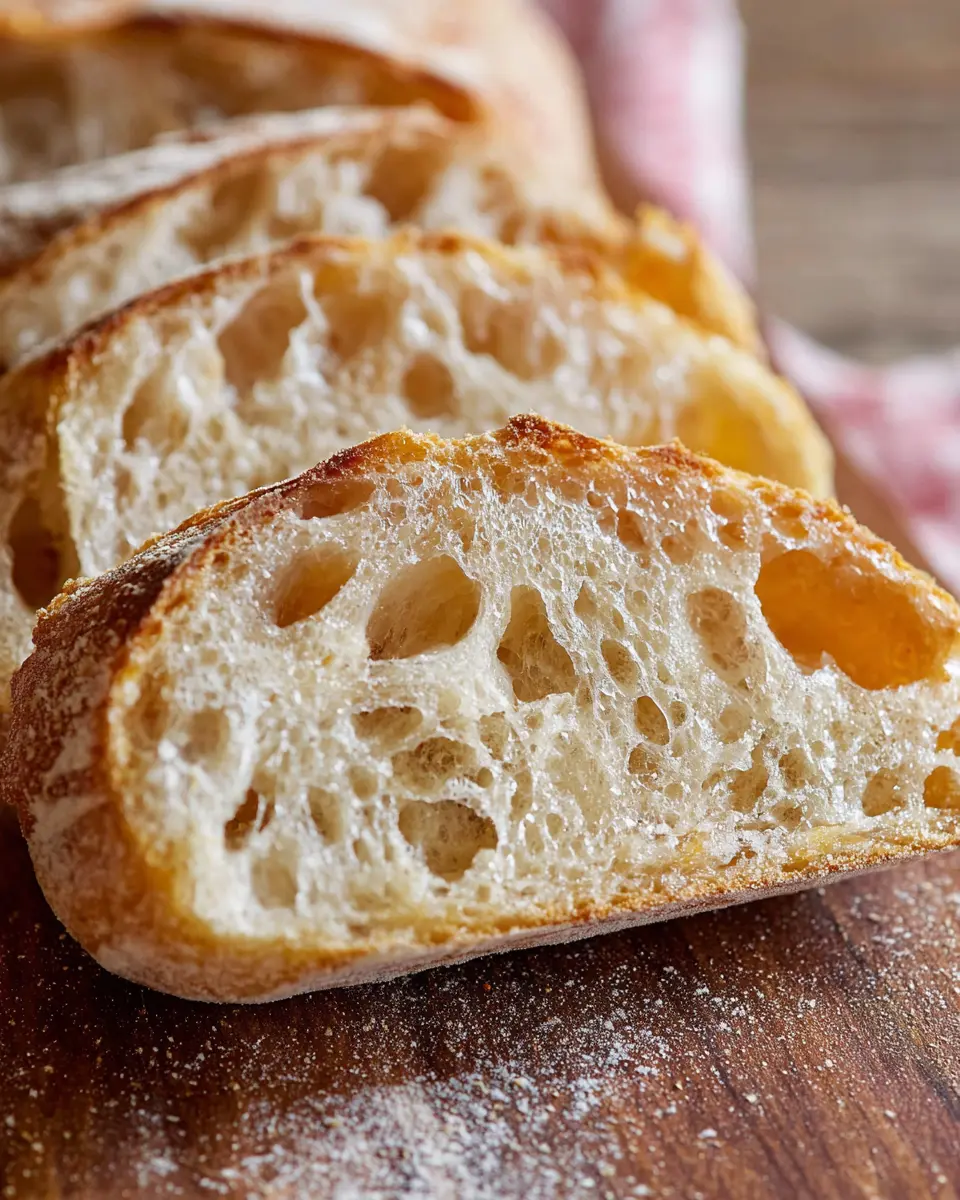
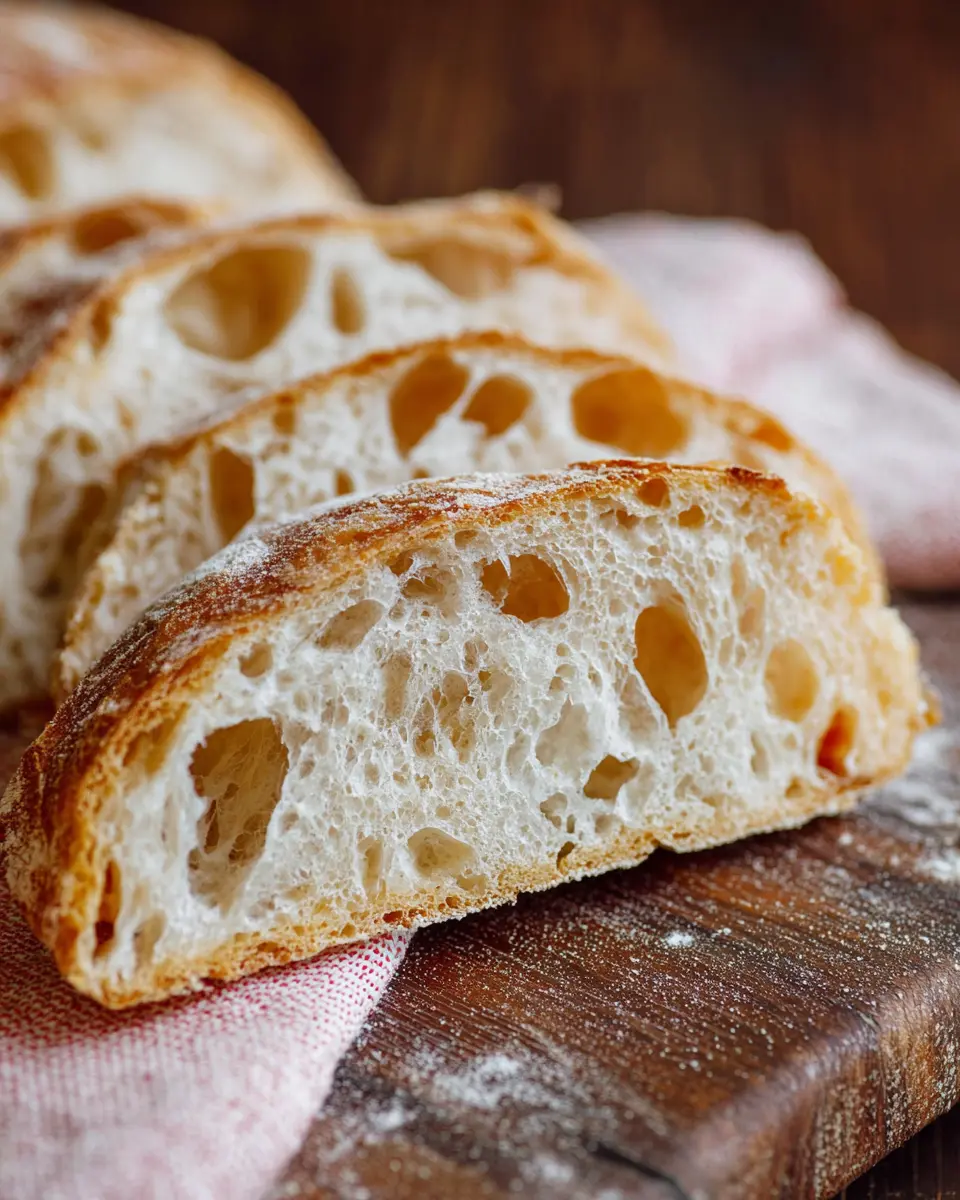
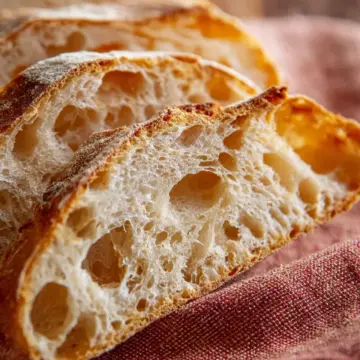
Making Bakery-Style Ciabatta at home is a rewarding experience that elevates your culinary skill and impresses anyone lucky enough to share in the feast. Traditional ciabatta is often lauded for its airy, open crumb and crispy crust, which can be difficult to replicate without proper techniques and equipment. But with my no-knead recipe, you can create a beautiful loaf with minimal effort. The key is a long fermentation time, allowing the flavors to develop naturally. This method turns an everyday ingredient list into something extraordinary, showcasing the power of patience in cooking.
The Joy of Fresh Bread
There’s something magical about the aroma of freshly-baked bread wafting through your home—it's an invitation that warms the heart and soul. Imagine slicing into a loaf with a perfectly taut, golden crust and a soft, chewy interior. Not only does fresh ciabatta taste better than store-bought options, but it also offers the satisfaction of knowing you crafted it from scratch. Sharing warm bread with family or friends can spark joy and connection around the dinner table. Plus, the delightful texture of ciabatta pairs wonderfully with various toppings, from olive oil to your favorite spread. For tips on boosting your bread baking, check out resources from the King Arthur Baking Company or the Bread Bakers Guild of America.
Embrace the art of baking with this easy, no-knead recipe that takes simplicity to a whole new level!
Ingredients for Bakery-Style Ciabatta
Creating a Bakery-Style Ciabatta at home is easier than you might think! Let’s break down the essential ingredients that will help you achieve that perfect crust and airy crumb.
Essential Flours
The foundation of any great ciabatta lies in its flour. In this recipe, we use bread flour for a strong gluten structure, which is vital for that chewy texture. Adding whole wheat flour enhances the flavor and adds a rustic quality to your bread. You can experiment with other flours, but these two will yield the best results.
The Role of Yeast
Yeast is the magic ingredient that makes your dough rise. For this ciabatta, we’re using instant yeast, which is preferred for its ease of use and quick activation. Just a small amount (¼ teaspoon) is enough to generate the perfect rise over the 18-hour fermentation period. This longer fermentation enhances both flavor and texture, giving your ciabatta that remarkable bakery-quality.
Importance of Salt and Water
Salt is crucial for flavor and for regulating yeast activity. We recommend using 1 ½ teaspoons to allow the bread to develop a balanced taste. Water, on the other hand, is key to achieving the right dough consistency. Using lukewarm water (2 cups) helps to kickstart the yeast, ensuring an even rise. Balancing these ingredients is essential for that perfect loaf, so don’t skip them!
Ready to bake a fresh loaf of ciabatta? Check out our recipe here.
Preparing Bakery-Style Ciabatta
Making your own Bakery-Style Ciabatta at home is not only rewarding but also surprisingly straightforward. This no-knead recipe takes advantage of time and a few simple ingredients to create that perfect crusty exterior and soft, airy interior that’s synonymous with traditional Italian ciabatta. Let’s guide you through this delightful process step by step!
Mix the Dry Ingredients
Start by gathering your ingredients. In a large mixing bowl, combine:
- 3 ½ cups (17 ½ oz/496g) white bread flour
- ½ cup (2 ½ oz/71g) whole wheat flour
- 1 ½ teaspoons salt
- ¼ teaspoon instant yeast
Use a whisk or spoon to ensure all the dry ingredients are well mixed. This step is crucial because you want the salt and yeast to be evenly distributed for consistent flavor and proper fermentation. For more insights on the importance of ingredients, check out King Arthur Baking.
Combine Wet Ingredients
Next, grab a separate jug and mix together:
- 2 cups (16 fl oz/450 ml) lukewarm water
- 1 tablespoon olive oil
Using lukewarm water activates the yeast, paving the way for your dough to rise beautifully. Why not use high-quality extra virgin olive oil for additional flavor? It’s a small touch that elevates the overall profile of your ciabatta.
Create the Wet Dough
Now, it’s time to combine the wet and dry ingredients. Pour the wet mixture into the dry ingredients and stir gently until a sticky, wet dough forms. Don’t worry if it feels soupy; this is normal! Scrape down the sides of the bowl using a spatula, cover it with a shower cap or cling wrap, and wrap a kitchen towel around it. Let it sit at room temperature for about 18 hours. This long fermentation period is what gives ciabatta its characteristic flavor and texture.
Let the Dough Ferment Overnight
During this fermentation time, glance periodically at your dough as it develops. Are you noticing those delightful bubbles forming? That’s a great sign! The long rest allows the gluten to develop naturally, which is pivotal for achieving that airy, open crumb structure we all love in Bakery-Style Ciabatta.
Prepare for Baking the Next Day
When it's time to bake, prepare two large baking sheets:
- Line one with a clean kitchen towel, dusted generously with flour.
- Line the other with parchment paper.
Once your dough has fermented, carefully uncover it and, using a spatula, knock it back gently. Shape it into a ball and divide it into two equal pieces. Place each piece on the floured towel, cover them with the kitchen towel, and let them proof for about 2 hours. Meanwhile, preheat your oven to 425°F (210°C) for that perfect baking temp.
Your ultimate goal is the creation of a Bakery-Style Ciabatta that’s golden brown and fully risen. Remember, patience is key here! Once baked, allow your lovely ciabatta to cool completely before slicing—trust us, the wait will be worth it.
Happy baking!
Variations on Bakery-Style Ciabatta
Bakery-Style Ciabatta is highly versatile, letting you play with flavors to suit your taste buds. Whether you're looking to add a bit of flair to your breadbasket or simply try something new, these variations will undoubtedly impress.
Herb-Infused Ciabatta
Elevate your ciabatta by mixing in a blend of fresh herbs like rosemary, thyme, and basil. Just chop them finely and fold them into your dough during mixing. The aromatic qualities will bring depth to your bread, creating a perfect pairing for soups or salads.
Whole Grain Ciabatta
For a heartier option, swap some of the white bread flour for whole wheat flour. You can use half whole grain and half white for a nutty flavor and added nutrition. This variation is perfect for those who want a more wholesome loaf without compromising the traditional ciabatta texture.
Ciabatta with Cheese and Olives
Why not take your ciabatta in a savory direction? Mix in crumbled feta cheese and pitted olives before baking for an irresistible Mediterranean twist. This variation makes a delightful appetizer or a tasty addition to any cheese board.
Experimenting with these variations can turn your Bakery-Style Ciabatta into a cherished centerpiece for any meal. Enjoy crafting your own perfect loaf!
Cooking Tips and Notes for Bakery-Style Ciabatta
Common Mistakes to Avoid
When making Bakery-Style Ciabatta, many home bakers overlook the importance of patience. Rushing the fermentation can lead to dense bread. Also, avoid adding too much flour; a wet dough is key for ciabatta’s airy texture.
Importance of Properly Measuring Ingredients
Accurate measurement of ingredients is crucial when baking bread. Use a kitchen scale for precision, especially with flours. Even slight variations in flour can change the dough’s consistency. This resource on measuring ingredients properly can help enhance your baking results.
Troubleshooting Dough Consistency
If your dough feels too sticky, resist the urge to add flour—this can compromise the light texture. Instead, try wetting your hands while handling the dough. If it’s too dry, incorporate a bit more water gradually, as achieving the right balance may take a few tries. Remember, practice makes perfect. Enjoy your baking journey!
Serving Suggestions for Bakery-Style Ciabatta
Perfect Pairings for Ciabatta
Bakery-Style Ciabatta is incredibly versatile! Serve it warm with a drizzle of high-quality olive oil as a simple yet elegant appetizer. Pair it with a tangy balsamic vinegar for a delightful dipping experience. For a heartier option, enjoy it alongside a warm bowl of minestrone or with a fresh Caprese salad featuring ripe tomatoes and mozzarella.
Using Ciabatta for Sandwiches
Transform your ciabatta into the ultimate sandwich canvas. Layer on chicken ham, fresh basil, and a smear of pesto for a gourmet twist. Alternatively, stack some sliced turkey bacon with avocado and a slice of tomato for a satisfying lunchtime treat. The chewy texture of the bread holds toppings beautifully, ensuring each bite is packed with flavor.
Creative Ways to Enjoy Leftovers
Don’t let your leftover ciabatta go to waste! Slice it up for bruschetta topped with diced tomatoes and garlic, or make a delightful French toast by soaking slices in a mixture of eggs and milk. You can also cube it for a rustic crouton addition to salads or soups, adding texture to your meals. The possibilities are truly endless!
For more ideas and inspiration, check out this guide on bread pairings, a fantastic resource for maximizing your culinary creations!
Time Breakdown for Bakery-Style Ciabatta
Creating your delicious Bakery-Style Ciabatta is all about patience and a little planning. Here’s how the time breaks down for this no-knead recipe:
Prep Time
30 mins
This includes gathering your ingredients, mixing your dough, and getting everything ready for the long fermentation ahead.
Cook Time
35 mins
Once your dough has risen, it’s time to bake. The golden-brown loaves will fill your kitchen with irresistible aromas!
Total Time
18 hrs 30 mins
Don’t let the total time discourage you! The majority is passive brewing time overnight, where the flavors and textures develop beautifully. It’s a total game-changer for your bread-making routine.
For more tips on baking bread, consider exploring King Arthur Baking. Their website is a treasure trove of recipes and baking techniques!
Nutritional Facts for Bakery-Style Ciabatta
Calories per Slice
A typical slice of Bakery-Style Ciabatta contains approximately 120 to 150 calories. This makes it a relatively light option for your meals or snacks, allowing you to indulge without feeling overly guilty.
Fiber Content
Each slice provides around 2 grams of dietary fiber, primarily from the whole wheat flour used in the recipe. Fiber is essential for digestive health and can help you feel fuller for longer, making it a smart choice for supporting your wellness goals.
Overall Nutritional Benefits
Not only does Bakery-Style Ciabatta deliver on flavor, but it also offers a range of nutritional benefits. With simple ingredients, this bread is free of preservatives and additives. The combination of white and whole wheat flour provides complex carbohydrates, essential vitamins, and minerals. Plus, the olive oil adds healthy fats that can support heart health. Whether you enjoy it as toast in the morning or a sandwich at lunch, this ciabatta is both delicious and nutritious.
For more insights on whole grains and their benefits, check out Whole Grains Council. Carbs don’t have to be your enemy, especially when they come from wholesome sources!
FAQ about Bakery-Style Ciabatta
How can I store homemade ciabatta?
To keep your Bakery-Style Ciabatta fresh, store it at room temperature in a paper bag or wrapped loosely in a clean kitchen towel. Avoid plastic, as it traps moisture and can make the crust soggy. If you expect to have leftovers, it’s best to use them within a few days.
Can I freeze ciabatta bread?
Absolutely! Freezing is a great way to prolong the life of your ciabatta. Simply wrap the cooled loaves tightly in plastic wrap and then place them in a freezer bag. They can be stored for up to three months. When you’re ready to enjoy your ciabatta, thaw it in the fridge overnight and reheat in the oven to restore its crusty exterior.
What makes ciabatta unique compared to other breads?
Ciabatta stands out for its deliciously airy and irregular crumb structure, thanks to a high hydration dough. Unlike denser breads, the combination of white and whole wheat flours contributes to its distinctive flavor and texture. Its rustic appearance and crisp crust are simply irresistible—perfect for sandwiches or dipping!
Conclusion on Bakery-Style Ciabatta
Embrace the joy of baking with this delightful Bakery-Style Ciabatta! With minimal effort and no kneading, you’ll create airy, flavorful loaves perfect for sandwiches or toasting. The long fermentation develops incredible taste and texture. So, roll up your sleeves, and let this simple recipe redefine your bread-making experience!
For more guidance on bread-baking techniques, check out resources like King Arthur Baking and The Bread Lab. Happy baking!
Bakery-Style Ciabatta (No-Knead Ciabatta Recipe)
Equipment
- large bowl
- Jug
- baking sheets
- Kitchen Towel
- parchment paper
- oven
Ingredients
Flours
- 3.5 cups white bread flour 17 ½ oz / 496 g
- 0.5 cups whole wheat flour 2 ½ oz / 71 g
Other Ingredients
- 1.5 teaspoons salt
- 0.25 teaspoons instant yeast
- 2 cups lukewarm water 16 fl oz / 450 ml
- 1 tablespoon olive oil
Instructions
The Day Before
- In a large bowl mix together the flours, salt, and yeast.
- In a separate jug mix together the water and oil.
- Add the wet into the dry ingredients and mix to form a wet dough. Scrape down the bowl and cover with a shower cap or cling wrap and a kitchen towel. Leave to ferment at room temperature for about 18 hours.
The Next Day
- Prepare 2 large baking sheets: Line one baking sheet with a clean kitchen towel and dust liberally with flour. Line the other with parchment paper. Set aside.
- Uncover and knock back the dough and roll into a ball.
- Divide the dough into two pieces and place side by side on the floured towel. Cover with the kitchen towel and allow to proof for 2 hours.
- Preheat the oven to 425°F (210°C).
- Once bubbles have formed and the dough has risen turn over each loaf and stretch it out to 16 inches as you turn it then carefully place it on your parchment-lined baking sheet.
- Bake for 35-40 minutes until golden brown.
- Allow the bread to cool completely before cutting. Enjoy fresh with butter. Any leftovers toast up great for homemade garlic bread.


Leave a Reply