
Introduction to The Best Banana Pudding
When it comes to comfort food, banana pudding holds a special place in many hearts. This delightful dessert is not only a nostalgic treat for childhood memories but also a crowd-pleaser perfect for any gathering. As someone who loves to whip up treats for friends and family, I can confidently say that the best banana pudding is an essential recipe in your arsenal.
Why is banana pudding such a beloved comfort food? For starters, its creamy, luscious texture evokes warmth and happiness. Layering vanilla wafers, fresh bananas, and a sweet pudding mixture creates a harmony of flavors that feels like a big hug in dessert form. Each bite transports you to sunny picnics or family reunions, making it an ideal choice for entertaining. According to Food Network, desserts like banana pudding can evoke positive memories, often making us feel nostalgic.
Whether you're planning a summer barbecue or simply craving something sweet, homemade banana pudding is a straightforward yet impressive option. This no-cook recipe allows you to create a rich, indulgent dessert with minimal effort, proving that comfort can indeed be uncomplicated. Ready to dive into the creamy goodness? Let’s get started on preparing the best banana pudding!
Ingredients for the Best Banana Pudding
When it comes to making the best banana pudding, a few essential components will ensure you achieve a delicious and satisfying result. Let’s dive into what you’ll need for this classic dessert!
Essential components for classic banana pudding
- Cold Milk: Start with 2 cups of cold milk, as it’s vital for the pudding to achieve the perfect consistency.
- Instant Vanilla Pudding Mix: Grab a 5-ounce package; it’s the cornerstone of flavor and texture.
- Sweetened Condensed Milk: A 14-ounce can adds creaminess and sweetness that elevates the dish.
- Vanilla Extract: A tablespoon enhances the overall flavor profile—don’t skip it!
- Whipped Topping: Use a 12-ounce container of thawed whipped topping to give your pudding that light, fluffy finish.
- Vanilla Wafers: The 16-ounce package will create delightful layers of crunch.
- Fresh Bananas: You'll need about 12 small bananas, sliced, to bring that fresh, fruity goodness to your creation.
With these ingredients in hand, you’ll be ready to whip up a bowl of nostalgia that everyone will adore. Make sure to check out fresh banana tips from Healthline to maximize flavor and nutrition!
Preparing The Best Banana Pudding
If you’ve been searching for a crowd-pleasing dessert that’s easy to whip up, look no further than this guide on preparing the best banana pudding! Follow these simple yet satisfying steps, and get ready to impress your friends and family with this delightful treat.
Gather All Your Fresh Ingredients
To ensure that your banana pudding is top-notch, start with fresh, quality ingredients. Here's what you'll need:
- 2 cups cold milk
- 1 (5-ounce) package instant vanilla pudding mix
- 1 (14-ounce) can sweetened condensed milk
- 1 tablespoon vanilla extract
- 1 (12-ounce) container frozen whipped topping, thawed
- 1 (16-ounce) package vanilla wafers
- 12 small bananas, sliced (or more if desired)
Once you have everything ready, take a moment to appreciate the sweet, comforting aroma of those ripe bananas. They’re the star of the show!
Mix the Pudding Base
In a large mixing bowl, combine the cold milk and instant vanilla pudding mix. Using a whisk, beat the mixture for about two minutes until it thickens nicely. After that, fold in the sweetened condensed milk, mixing until the texture is smooth and creamy. This rich base is what makes this dessert truly irresistible. If you want some tips on pudding consistency, you might find this Allrecipes guide helpful.
Combine the Pudding with Whipped Topping
Now it’s time to elevate your pudding base. Stir in the vanilla extract to enhance the flavor. Then, gently fold in the thawed whipped topping to create a silky, fluffy mixture. The whipped topping adds a lightness that complements the pudding beautifully, making it one of the key steps in achieving the best banana pudding.
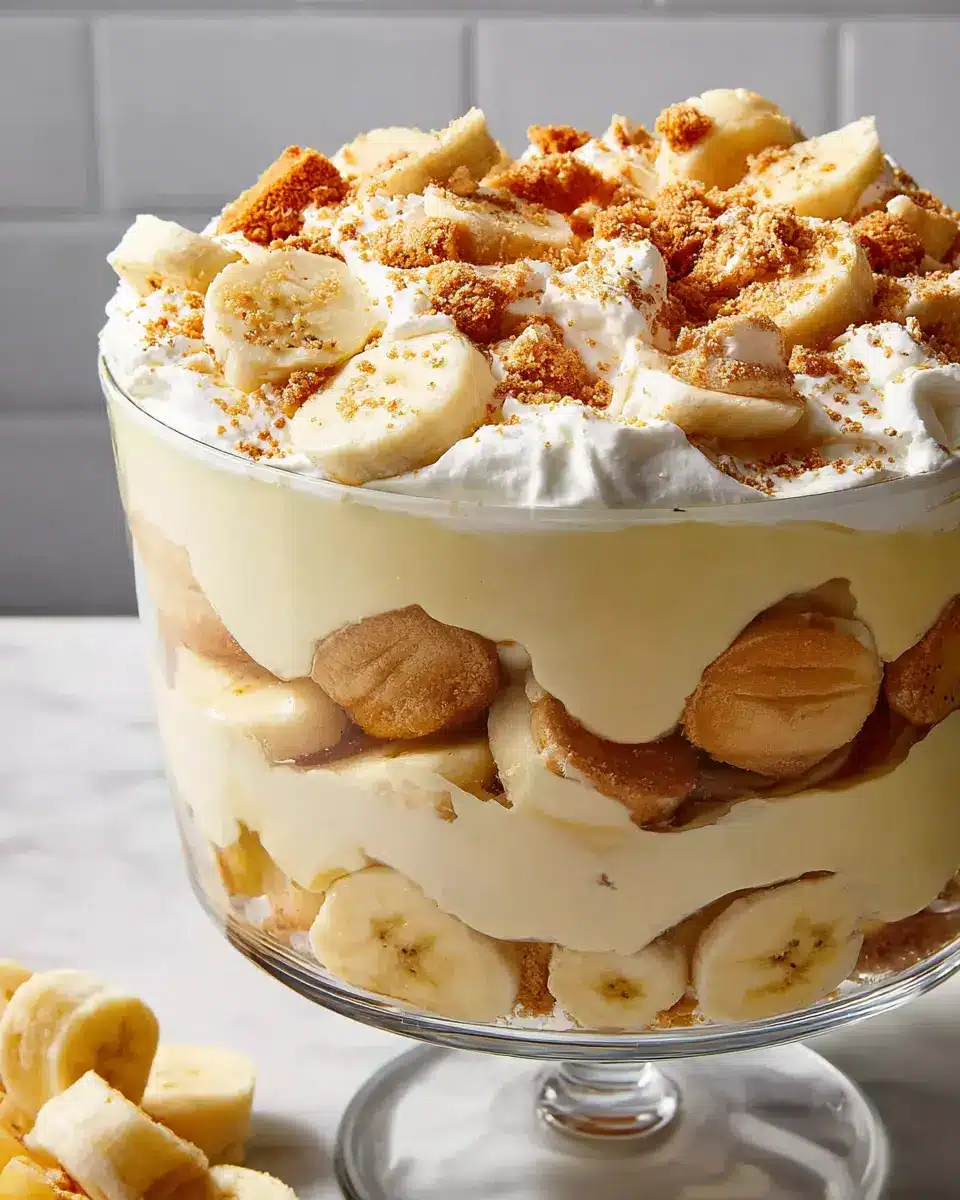
Layer the Vanilla Wafers, Bananas, and Pudding
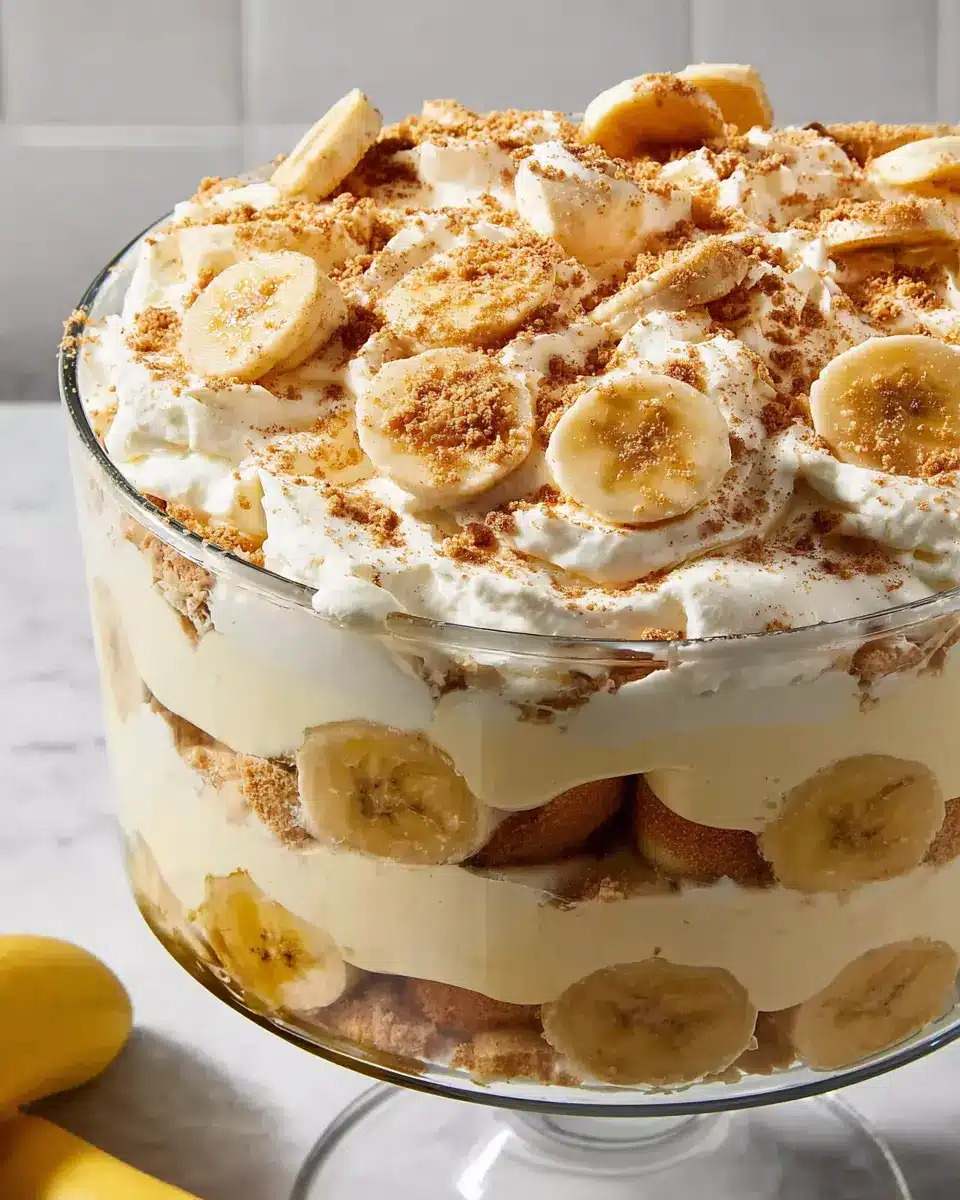
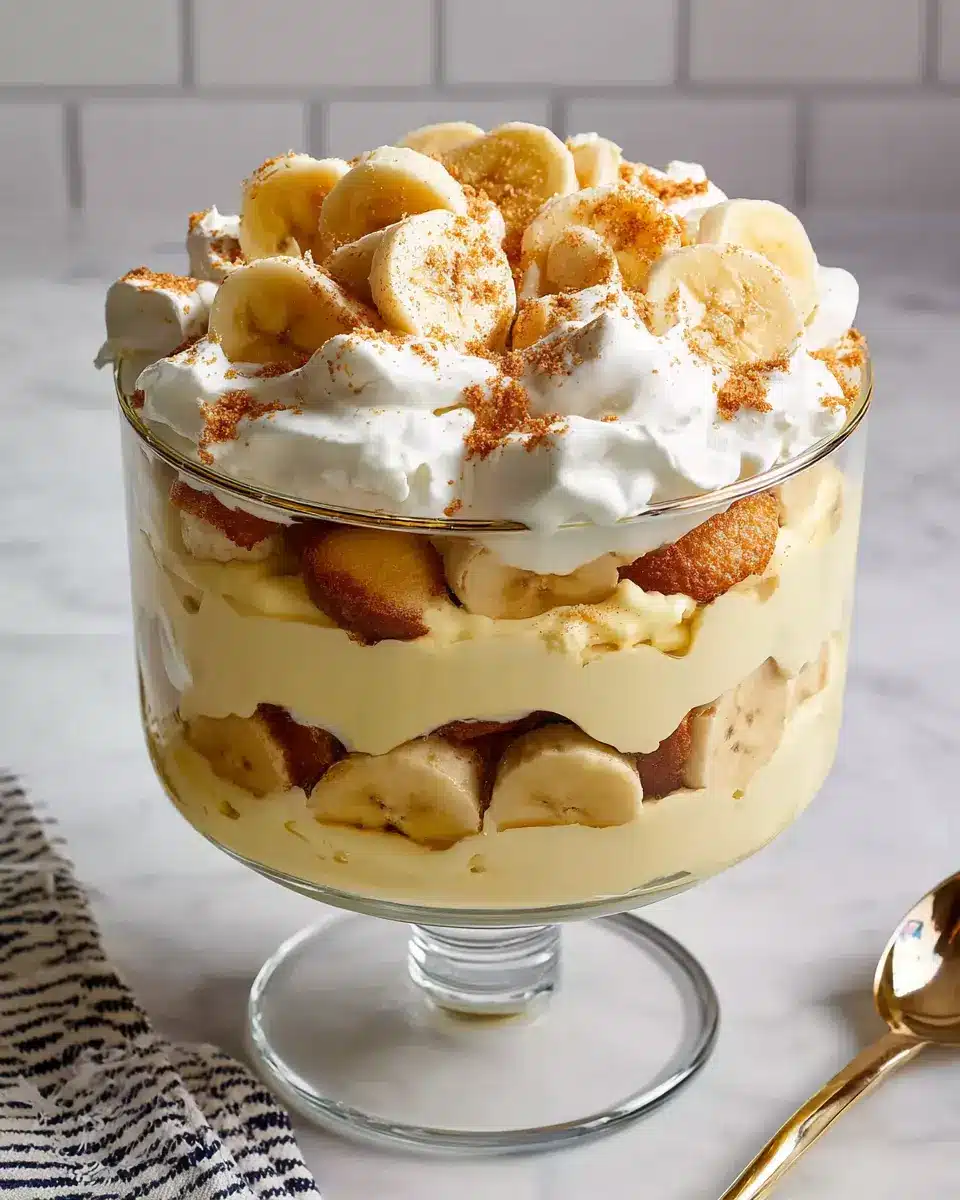
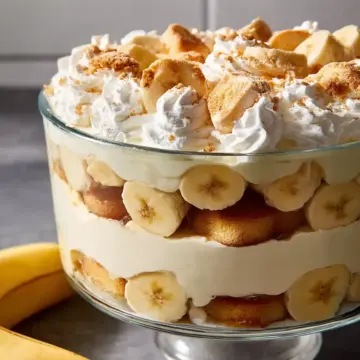
You’re almost there! In your favorite glass serving bowl, start layering your ingredients. First, place a generous layer of vanilla wafers at the bottom. Next, add a layer of sliced bananas, followed by a layer of the delicious pudding mixture. Repeat these layers until you’ve used up all your ingredients, finishing with a layer of pudding on top. This visually appealing presentation will certainly whet your guests' appetites!
Chill and Let the Flavors Meld
For the best texture and flavor, refrigerate your assembled banana pudding for at least one hour. This cooling period is vital as it allows the layers to meld together beautifully, creating that signature creamy texture we all love. When you’re ready to serve, sprinkle some extra crushed vanilla wafers on top for a delightful crunch.
And there you have it! By following these straightforward steps, you’re well on your way to creating the best banana pudding that everyone will rave about. Happy cooking!
Variations on The Best Banana Pudding
Chocolate Banana Pudding Twist
If you’re a chocolate lover, why not add a twist to the best banana pudding? Simply swap half of the vanilla pudding mix for chocolate pudding mix. Layer it in with the bananas and wafers, and you’ll have a delightful chocolate banana pudding that satisfies all cravings. Top it off with a sprinkle of chocolate shavings or mini chocolate chips for that extra indulgence!
Tropical Banana Pudding with Coconut
For a refreshing take, transform your banana pudding into a tropical delight! Stir in shredded coconut into the pudding mixture and use coconut-flavored whipped topping. Replace some vanilla wafers with crushed graham crackers for a unique texture. This fun twist will transport your taste buds to a sunny beach with every spoonful! If you’re curious about variations, you'll find countless inspiration on sites like Serious Eats.
Cooking Tips and Notes for The Best Banana Pudding
Importance of Chilling Time
Chilling is essential for the best banana pudding. It allows the flavors to meld beautifully and gives the dessert a creamy texture. Aim for at least one hour in the refrigerator. If you can wait longer—say, overnight—you’ll be rewarded with an even more delightful taste! Trust me; the anticipation will make the first bite that much sweeter.
How to Prevent Browning of Bananas
To keep those gorgeous banana slices from turning brown, consider tossing them in a squeeze of lemon juice. This simple trick slows oxidation and helps maintain their bright color. If you're concerned about your bananas browning before serving, slice them just before layering them into the pudding. Your dessert will look as good as it tastes!
For more tips on preserving fruits, check out the USDA’s guidelines on fresh produce, a fantastic resource. Enjoy your banana pudding!
Serving Suggestions for The Best Banana Pudding
Ideal occasions for serving banana pudding
Banana pudding is a crowd-pleaser at any gathering! Whether you’re planning a summer barbecue, a birthday party, or a cozy family dinner, this delightful dessert will steal the show. Its creamy texture and sweet flavor make it perfect for celebrations like holidays or casual get-togethers. Plus, it's a fantastic make-ahead option, so you can focus on enjoying your time with friends and family instead of slaving away in the kitchen.
Perfect pairings with beverages
When it comes to drinks, the best banana pudding pairs wonderfully with a variety of refreshing options. Consider serving it alongside:
- Classic iced tea: The sweetness of the pudding balances perfectly with the tea's astringency.
- Fresh fruit smoothies: A complementary burst of flavor that enhances the overall experience.
- Cold lemonade: Its tangy zest beautifully cuts through the creaminess of the dessert.
These lively beverages add a refreshing touch that rounds out your menu for any occasion. Enjoy experimenting with these delightful combinations!
Time Breakdown for The Best Banana Pudding
Preparation time
Getting started is a breeze with just 25 minutes of preparation! Gather your ingredients and unleash your inner chef as you whisk together the creamy mixture that will elevate your banana pudding game.
Total time
From prep to presentation, the total time is still 25 minutes! While it's ready to serve right away, a quick chill in the fridge for an hour enhances the flavors, making your banana pudding truly the best banana pudding you'll ever enjoy.
For more culinary tips or to explore delicious dessert variations, consider checking out resources like Food Network or Bon Appétit!
Nutritional Facts for The Best Banana Pudding
Calories per serving
Each serving of the best banana pudding packs approximately 329 calories. It's a delightful treat that's not overly indulgent, making it a perfect dessert for gatherings or cozy nights in.
Key nutrients
This decadent dessert offers key nutrients, including:
- Total Fat: 10g
- Saturated Fat: 5g
- Cholesterol: 9mg
- Sodium: 205mg
- Total Carbohydrates: 57g
- Dietary Fiber: 3g
- Total Sugars: 29g
- Protein: 4g
- Vitamin C: 8mg
- Calcium: 95mg
- Iron: 1mg
- Potassium: 431mg
With its mixture of wholesome ingredients, this banana pudding is not just a tasty treat but also comes with a surprising nutritional profile. Its inclusion of bananas provides potassium, while the milk adds calcium and protein—ensuring that this dessert isn’t just a guilty pleasure but a satisfying addition to any meal plan.
For more insight into the nutritional benefits of bananas, check out this article from Healthline.
FAQs about The Best Banana Pudding
Can I use different types of pudding mix?
Absolutely! While this recipe shines with classic instant vanilla pudding, you can experiment with flavors like butterscotch or banana pudding mix for a delightful twist. Each option brings its unique taste, so don’t hesitate to personalize it for your palate. Just remember, the base of the best banana pudding should still be creamy and delicious.
How long can banana pudding be stored?
Banana pudding can typically be stored in the refrigerator for about 3 to 4 days. However, for optimal flavor and texture, it's best to enjoy it within the first 2 days. If you want to prevent the bananas from browning, you can toss them in a little lemon juice before layering.
Is there a way to make it healthier?
Definitely! You can swap regular whipped topping for a lighter version or Greek yogurt to cut calories while maintaining creaminess. Using reduced-fat vanilla wafers or opting for a natural sweetener in place of sweetened condensed milk can also make a difference. With these tweaks, you can enjoy a healthier version of the best banana pudding without sacrificing taste!
Feel free to check out Healthline for more tips on making desserts healthier, or browse Allrecipes for additional sweet treats!
Conclusion on The Best Banana Pudding
In conclusion, the best banana pudding is not just a dessert; it’s a nostalgic experience that brings people together. With its effortless preparation and delightful layers of flavor, it’s perfect for any occasion. Give this recipe a try, and I promise your friends will be asking for seconds! For more scrumptious dessert ideas, check out Food Network for inspiration.
The Best Banana Pudding
Equipment
- large bowl
- whisk
- glass serving bowl
Ingredients
- 2 cups cold milk
- 1 package (5-ounce) instant vanilla pudding mix
- 1 can (14-ounce) sweetened condensed milk
- 1 tablespoon vanilla extract
- 1 container (12-ounce) frozen whipped topping, thawed
- 1 package (16-ounce) vanilla wafers
- 12 small bananas, sliced or more as needed
Instructions
- Gather all ingredients.
- Place milk and pudding mix in a large bowl; beat with a whisk for 2 minutes. Whisk in condensed milk until smooth.
- Stir in vanilla, then fold in whipped topping.
- Arrange a layer of wafers in the bottom of a glass serving bowl. Top with a layer of banana slices, then a layer of pudding mixture; repeat layers until all ingredients are used.
- For best results, chill pudding in the refrigerator for at least 1 hour before serving. Top with extra crushed wafers just before serving.
- Enjoy!

Leave a Reply